

Ash
I love mechas and tanks, so when I had to choose something from the 40k catalogue the "natural" choice should have been the Tau army, but as my eyes were caught by the Skitarii Dune Crawler it was love at first sight.
At the beginning, the idea was to just add a bit of personality cannibalizing some pieces for a german 88mm, but looking at the instructions, I started thinking of something more challenging.
The lower section (the "legs") has lots of space and the structure itself is based on straight beams.
Double the legs, double the fun, so I decided to bash together two crawlers, trying to obtain a bigger and more threatening version. Being a novice in the Skitarii lore, I asked Jonathan (a practical human version of a 40k encyclopaedia) some details that could add a bit more spice and luckily he gave me a gorgeous idea for an ancient relic. Some sort of grand-grand-etc-father of a regular Dune Crawler from a lost world named One-Forty-Twenty.
It will take some time, since I'm quite slow even if enthusiast, but I hope you'll enjoy it.
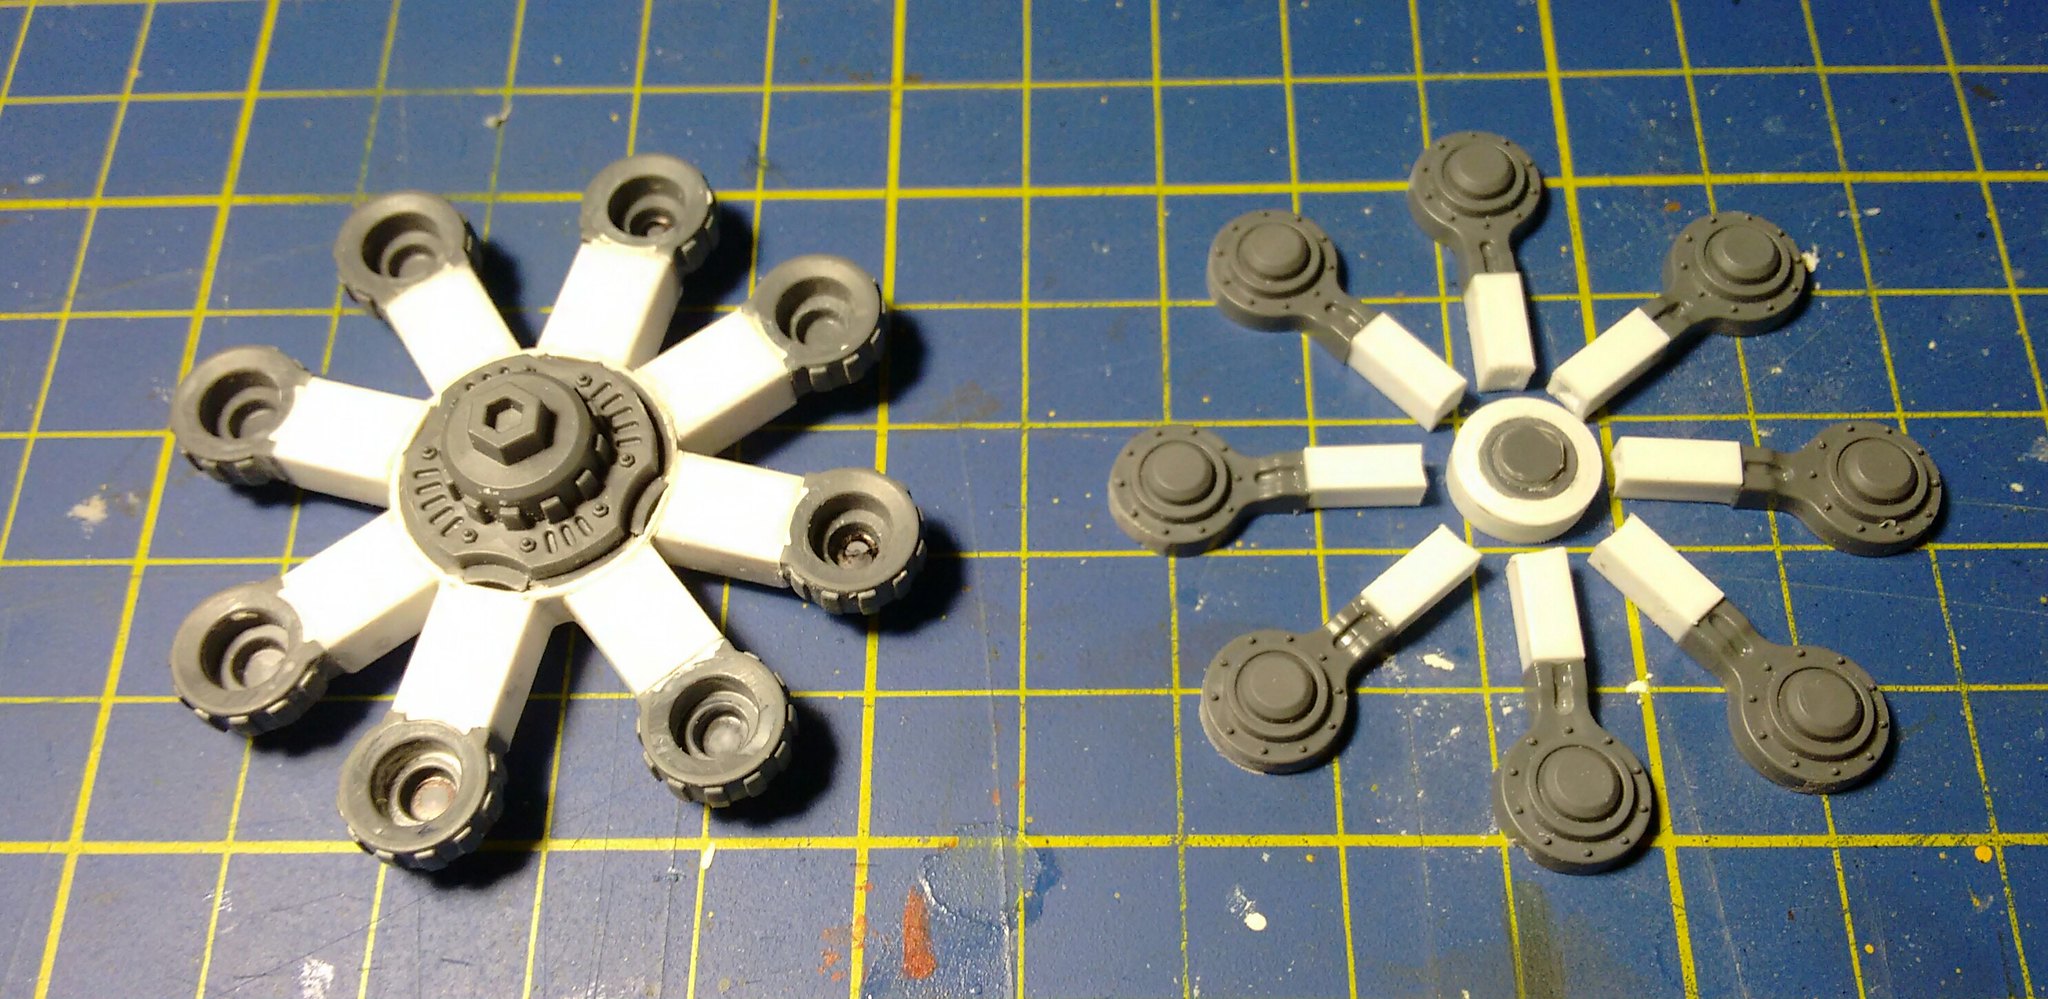
The legs are kept together by a structure organized in three layers: two "spokes" sections and an upper cover with a semisphere on top (the main joint with the hull).
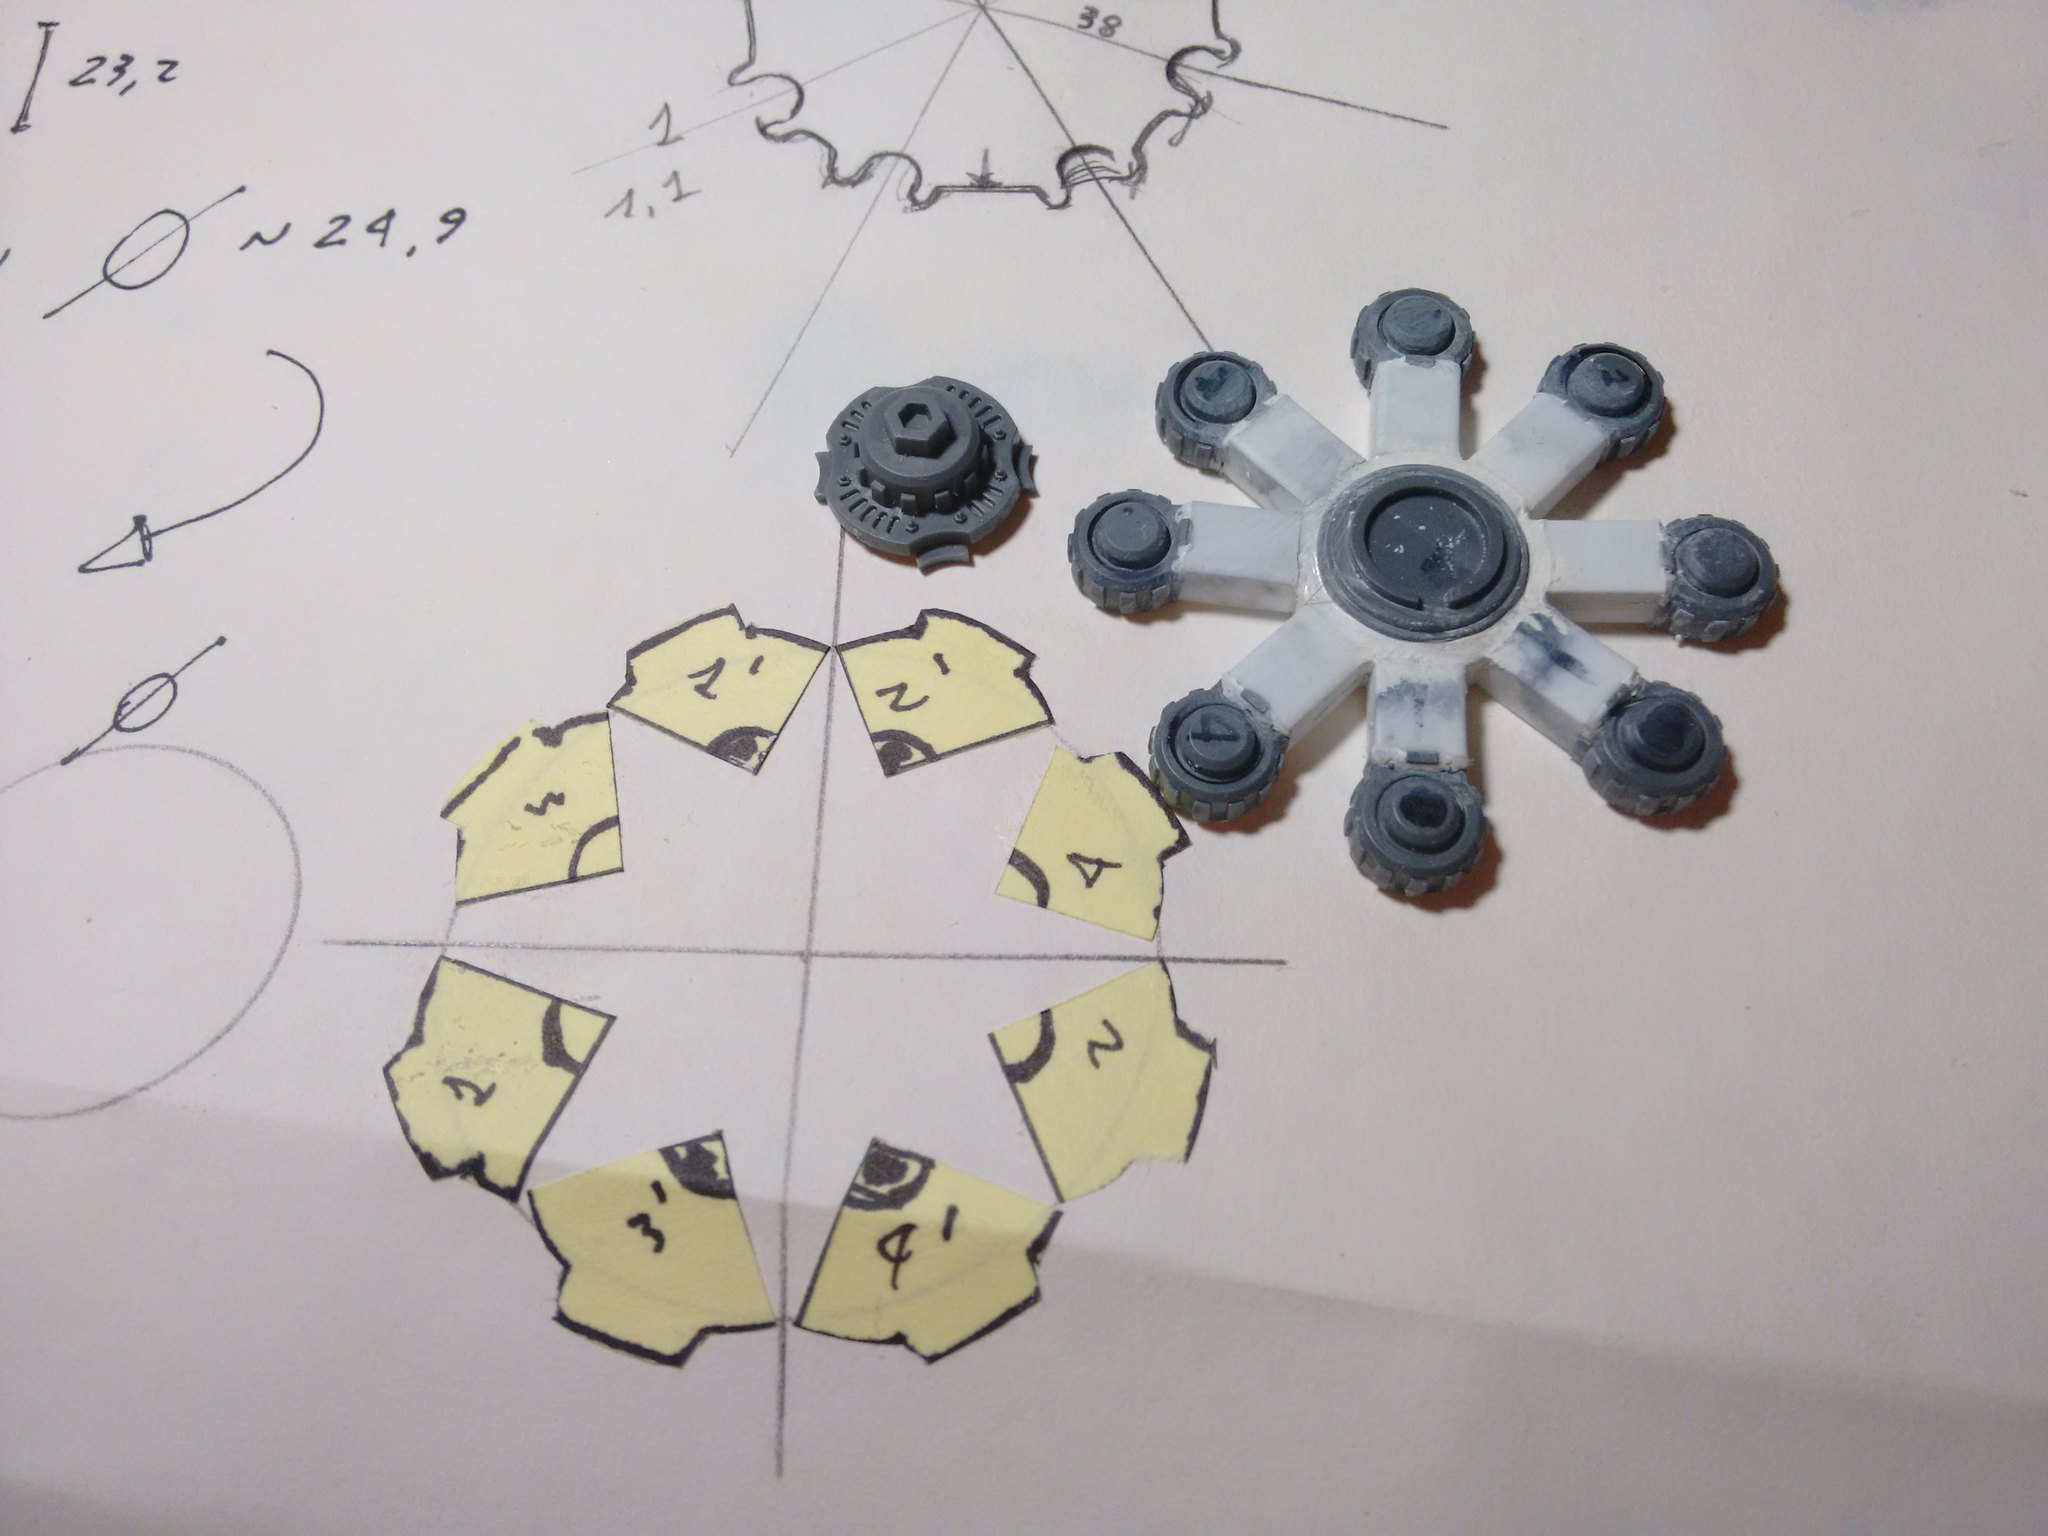
The lower sections will be simply cut and rearranged, but at first, we need a reference to correctly arrange the legs.
 |
| The semispheres will come in handy later |
A paper reference will make things easier.
 |
| A marker will also helps to identify the pieces |
Post-it notes are a good option to speed up the process.
 |
| "It could work!" |
Better to reduce the stress with some tape and cut just once.
If you'll be using a Dremel or a similar mini-drill, be extremely careful (as you should be every time you cut something with any tool) and keep it at the lowest RPM possible or the plastic will costantly melt, making the cut wider.
 |
| Keeping the tape after the cut, will speed up the sanding too |
Instead of a perfect circle, I decided to shape the new piece in order to make it look more like a spider abdomen.
It's now time for some serious amount of epoxy putty. Normally I use white Milliput, but some Green Stuff will work too.
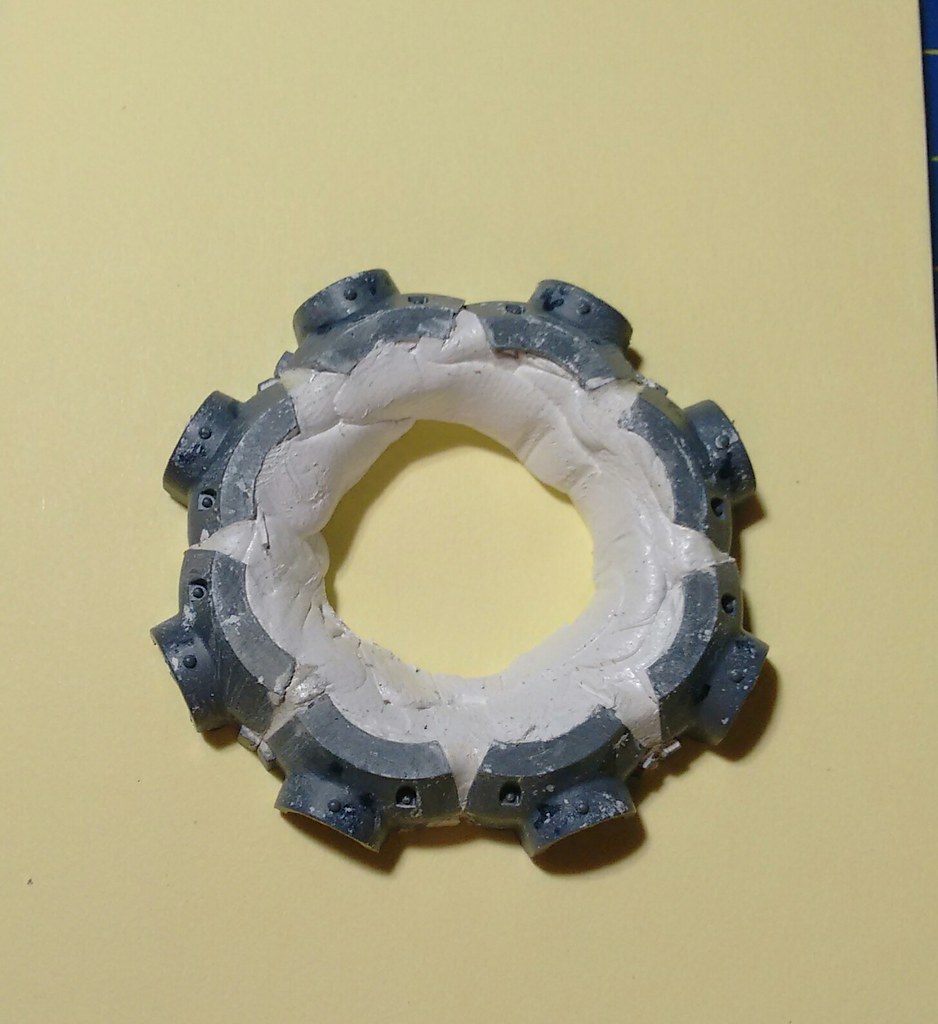 |
| Check the pieces' position while the putty is still soft. |
Avoid the few survived details (the holes and the bolts), but don't be shy. Adding details is far easier when the base structure is solid and the lines are smooth.
 |
| Alcohol helps a lot, when it come to sculpting with epoxy putty |
But it's one of the most unforgiving, since the smallest less than perfect junction will pop through the most pristine paint job like an eyesore.
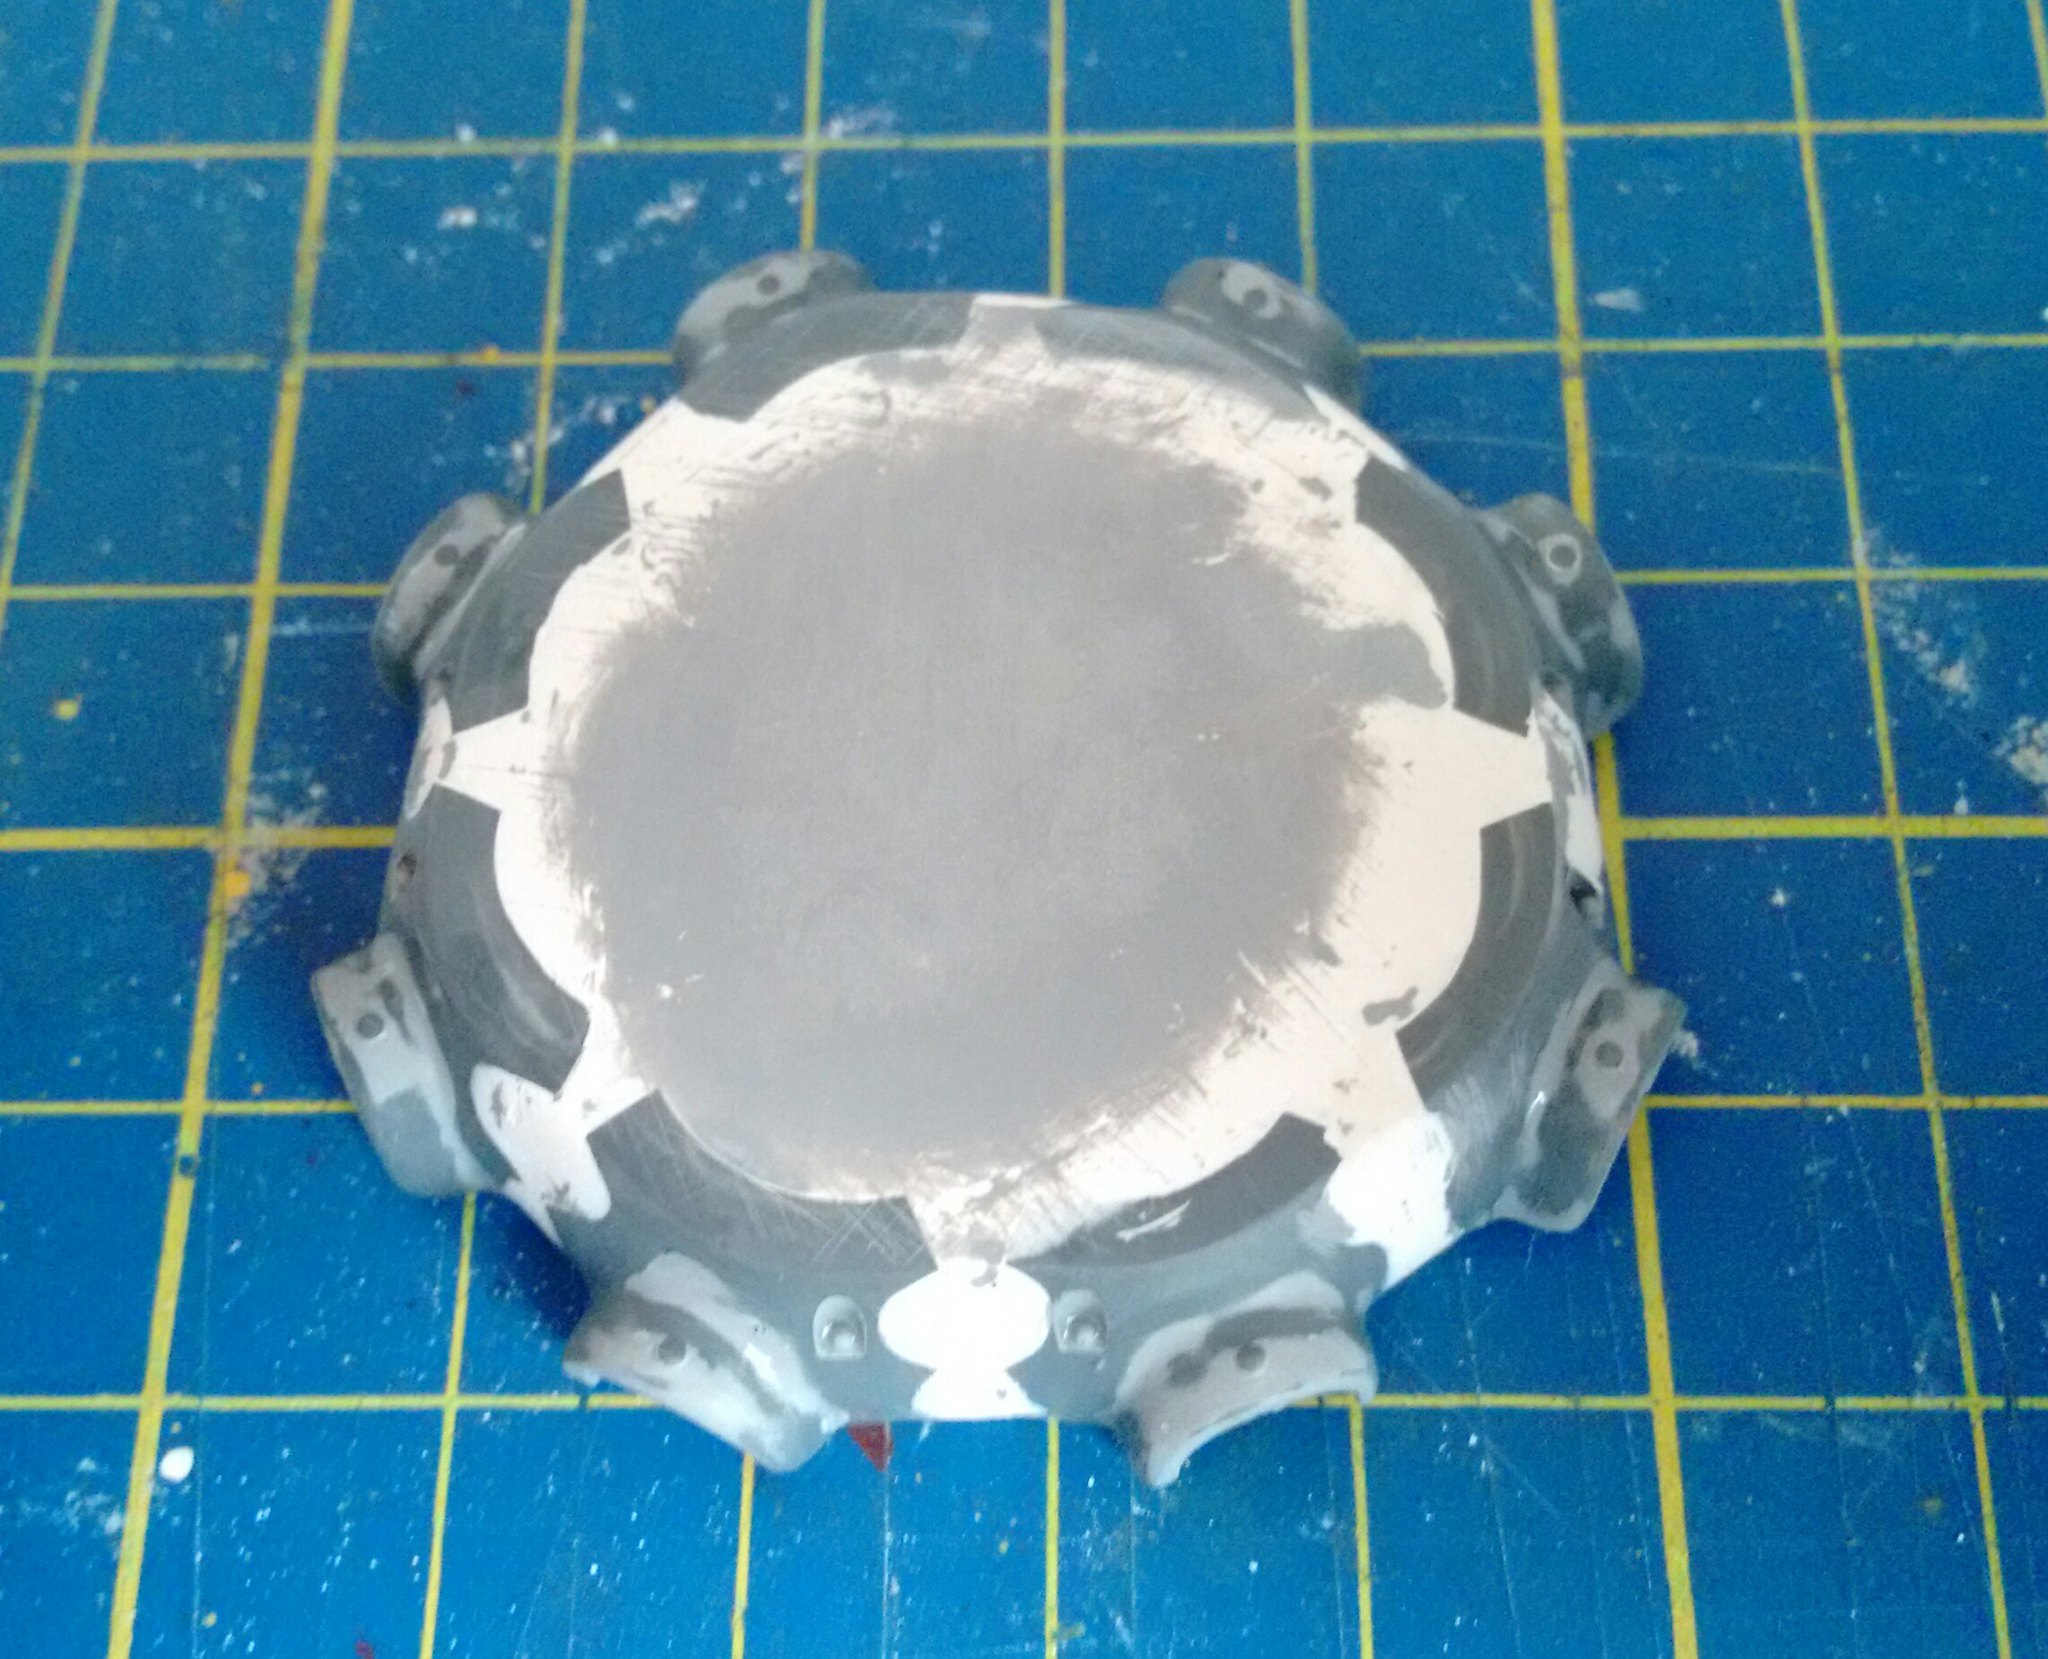 |
| Putty with different colors helps a lot to avoid over-sanding |
Furthermore, every mistake can be fixed with just more putty and sandpaper.
 |
| Picture me with a satisfyed grin |
Again, it's better measuring twice to cut once.
Since the upper part is accurate, but not cut with a CNC router, there will be some minor differences here and there.
A caliper will come in handy.
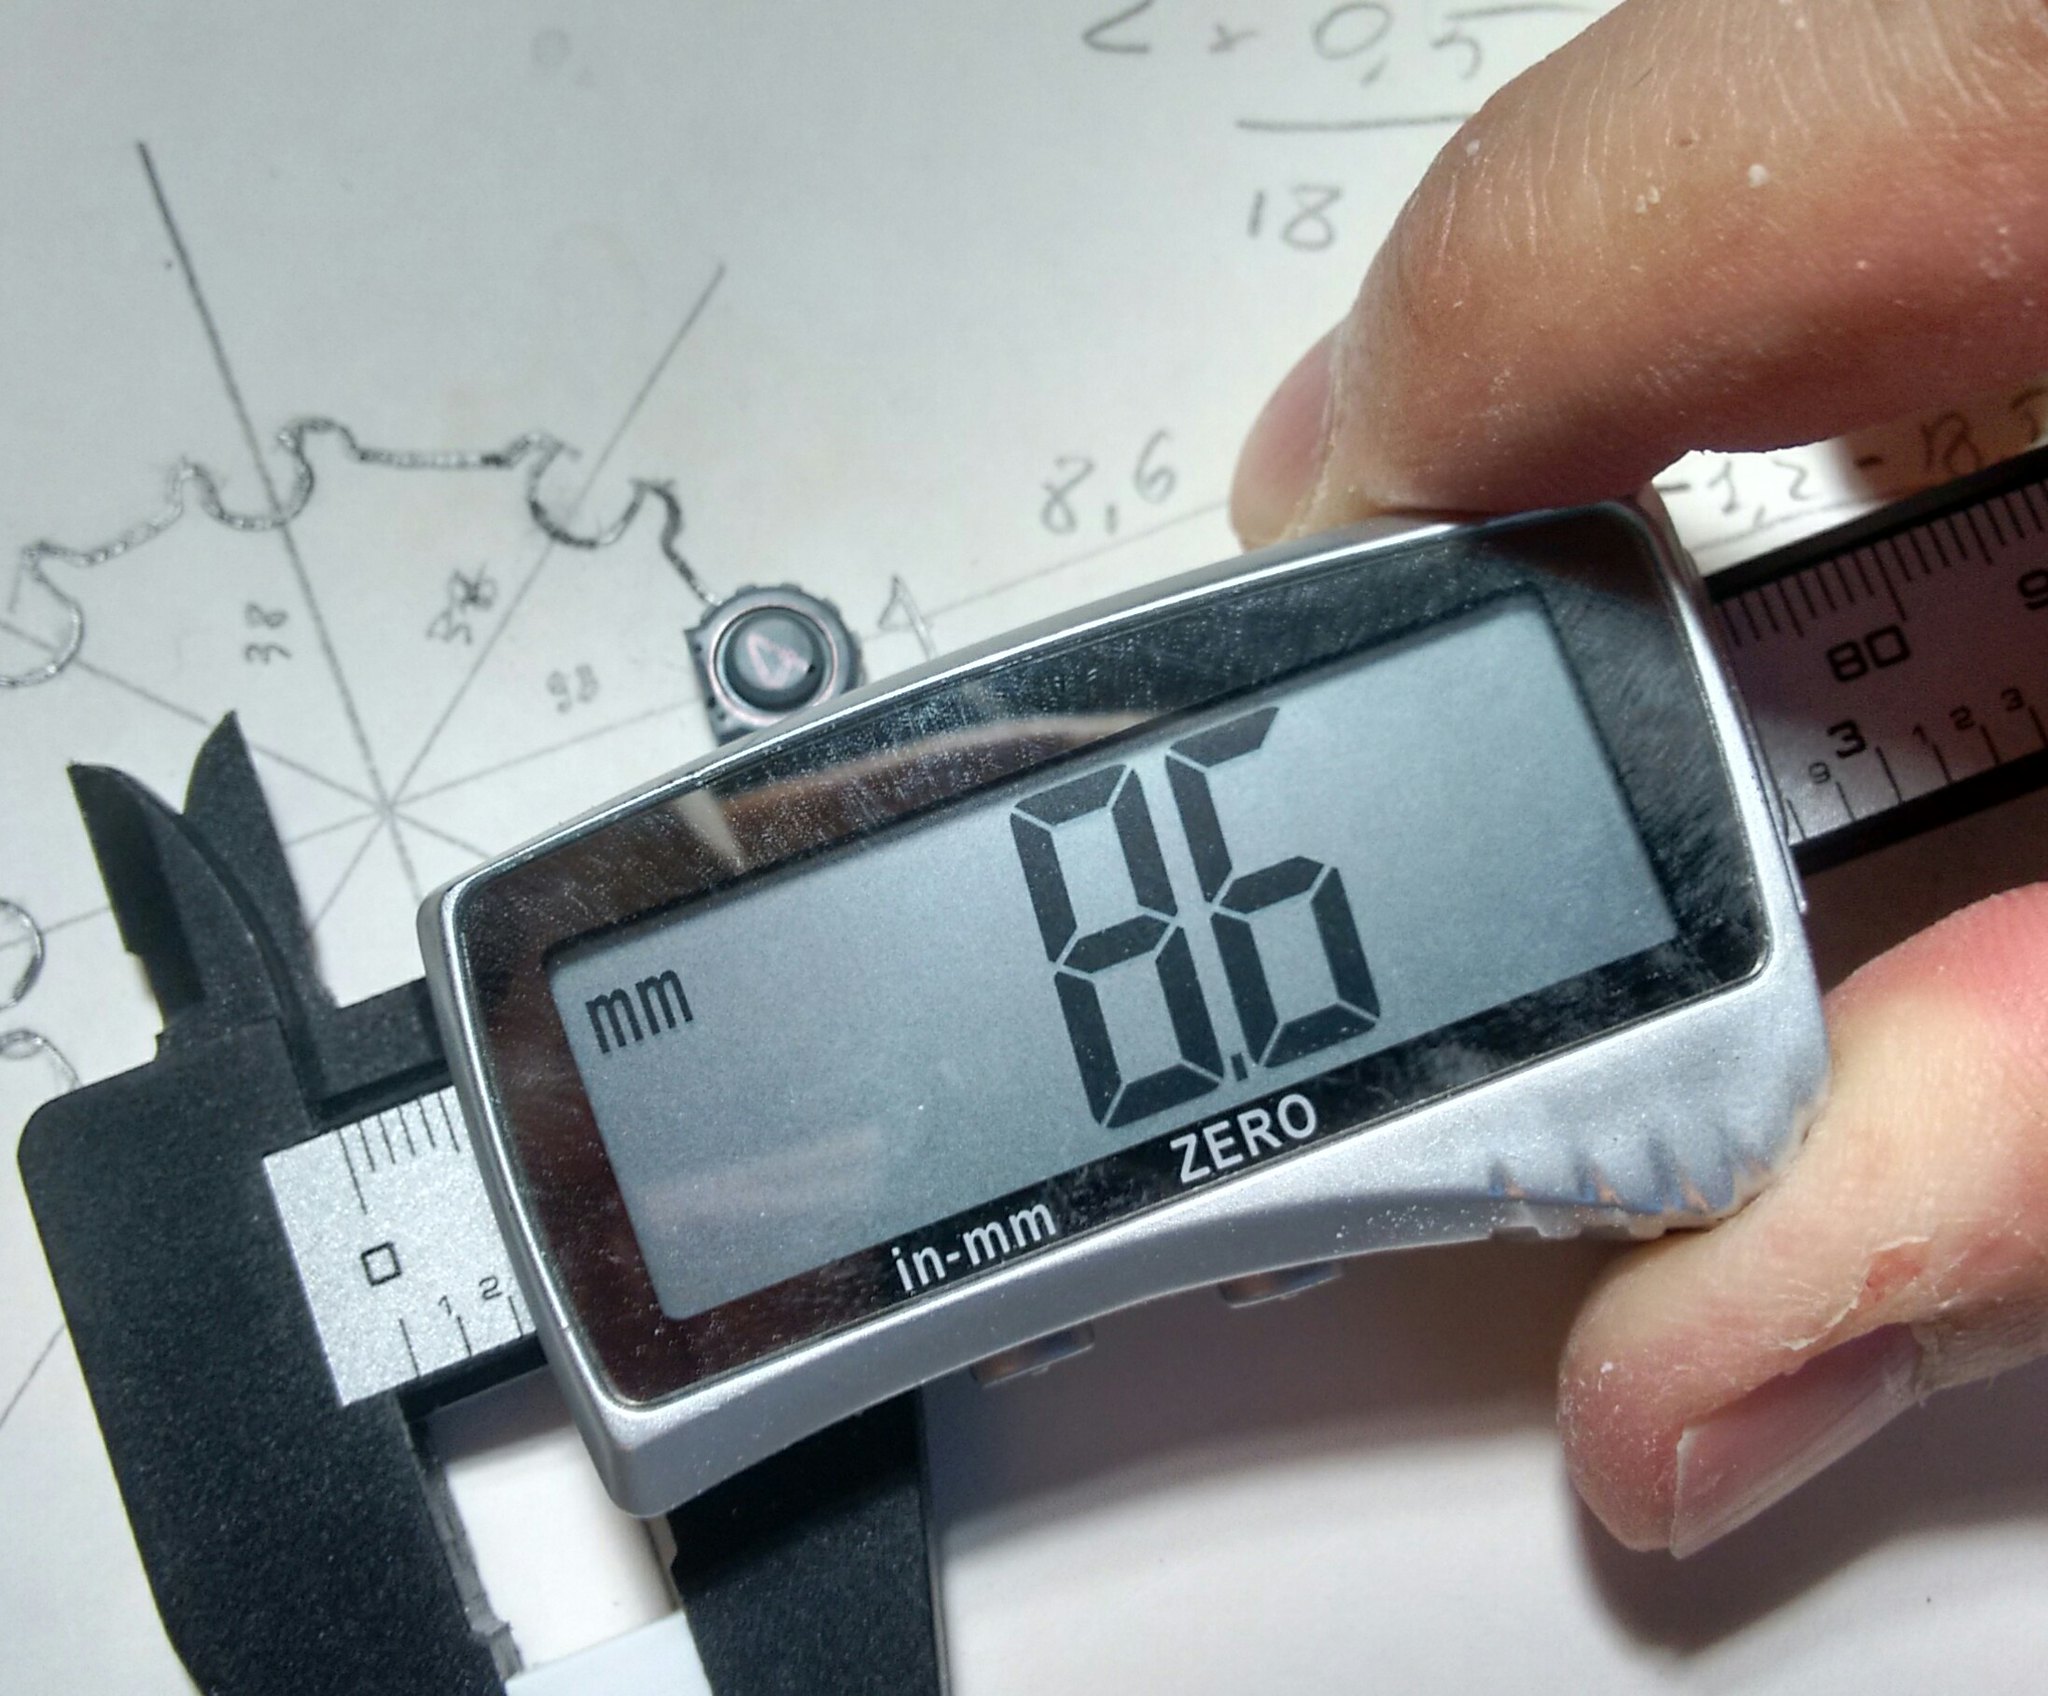 |
| I needed 8.6 and I had 8.6 |
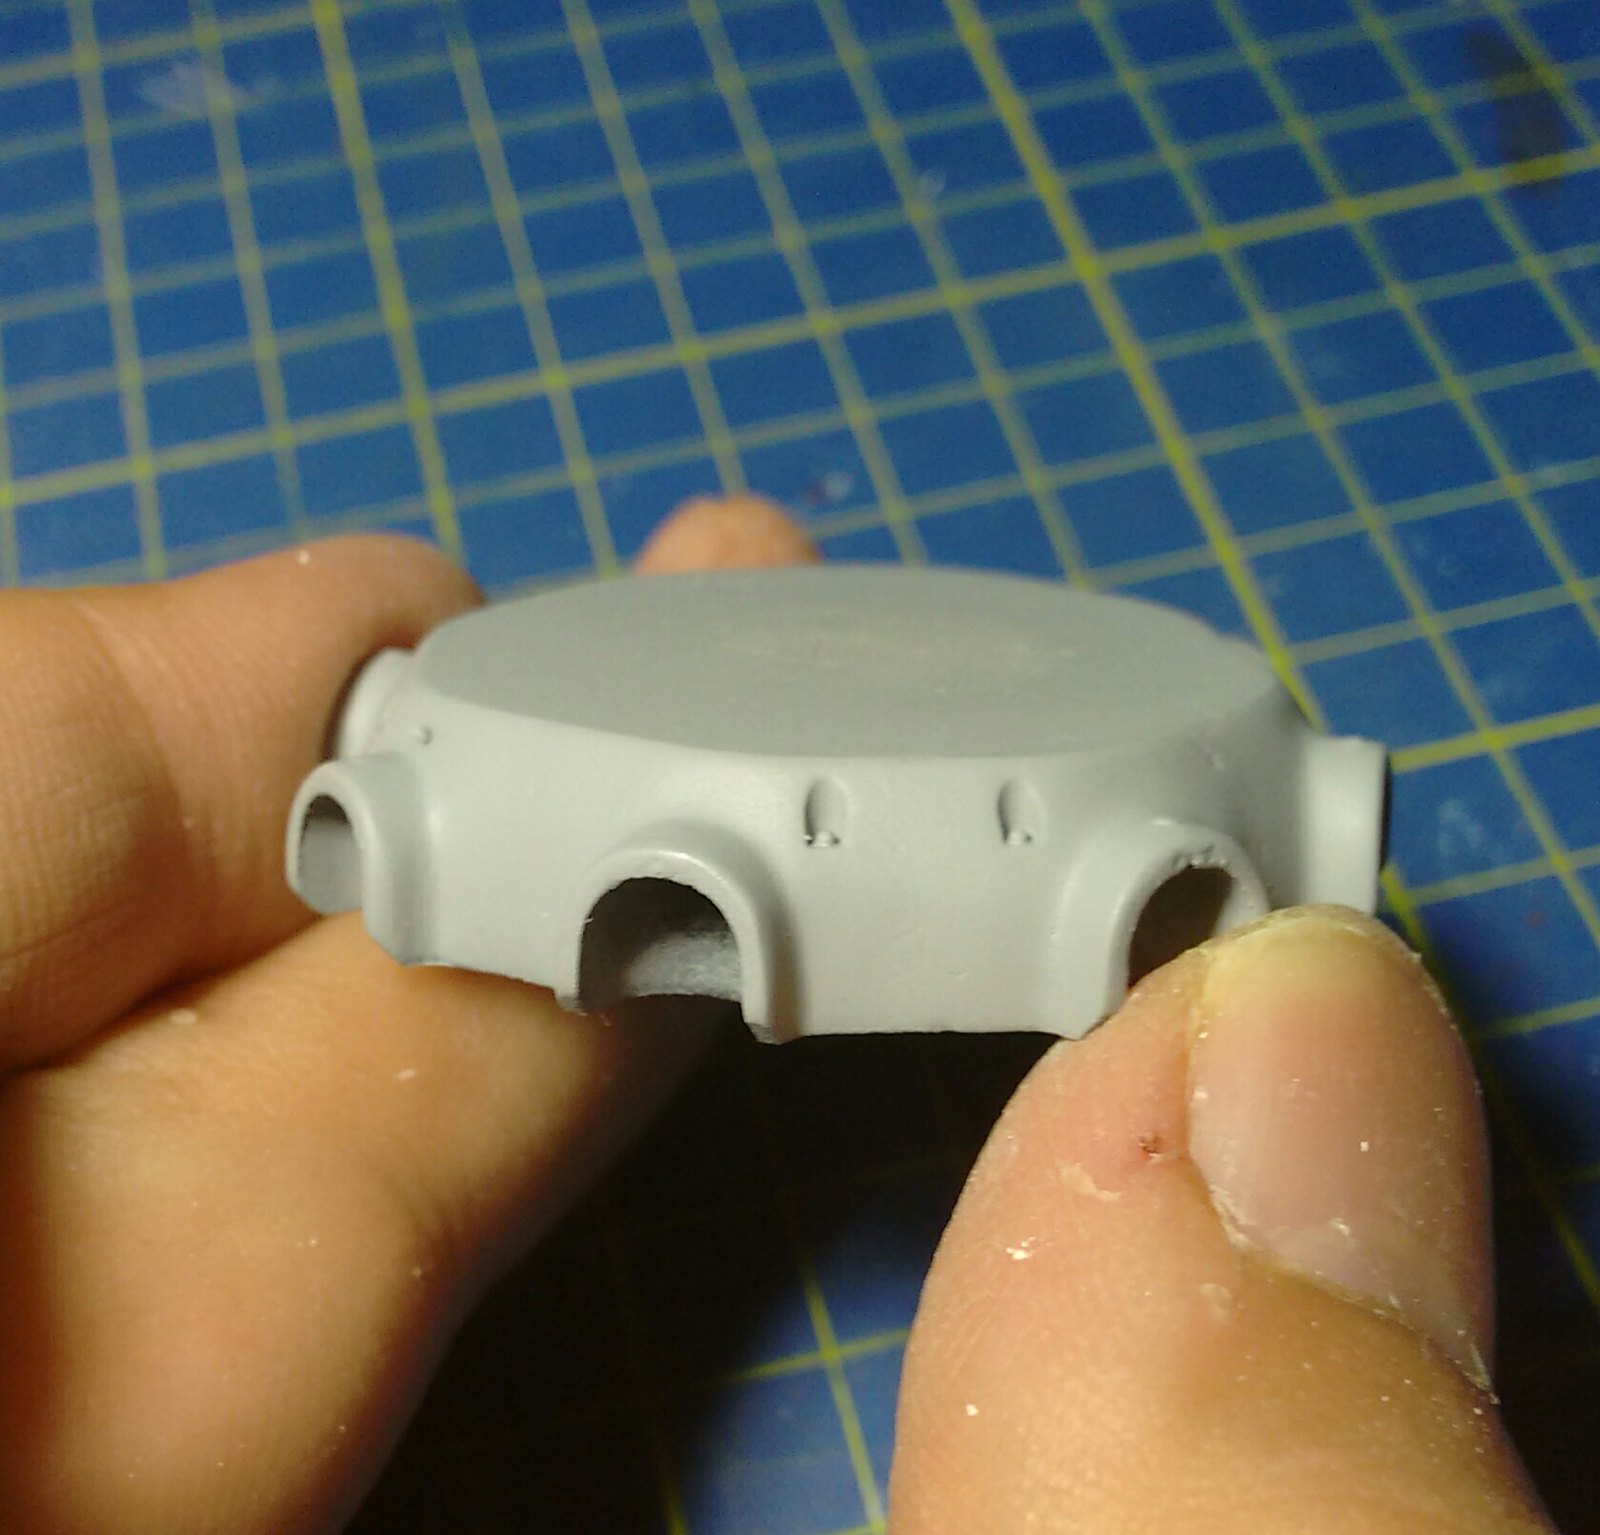
To better hide the junction and add a bit more character, I will add some weld beads.
 |
| With some planning I was able to recycle a good 80% of the original pieces |
I encased the central piece in a small section of styrene tube to increase the diameter and make the joint more "comfortable".
 | |
|
To add some further support to the structure, the pieces will be wedged with a rod through a drilled hole of the same size. Once dry, some extra epoxy putty will complete the job.
 |
| If properly glued, scratchbuild parts can become really solid |
Now it's time for the legs. Considering the amount of pieces and the total weight, I had to build the whole structure in two steps. Glue takes some time to dry on styrene, and even if after 30/40 minutes seems dry, the junction may still be soft and bend.
To help the process, I used some tape to keep everything in place.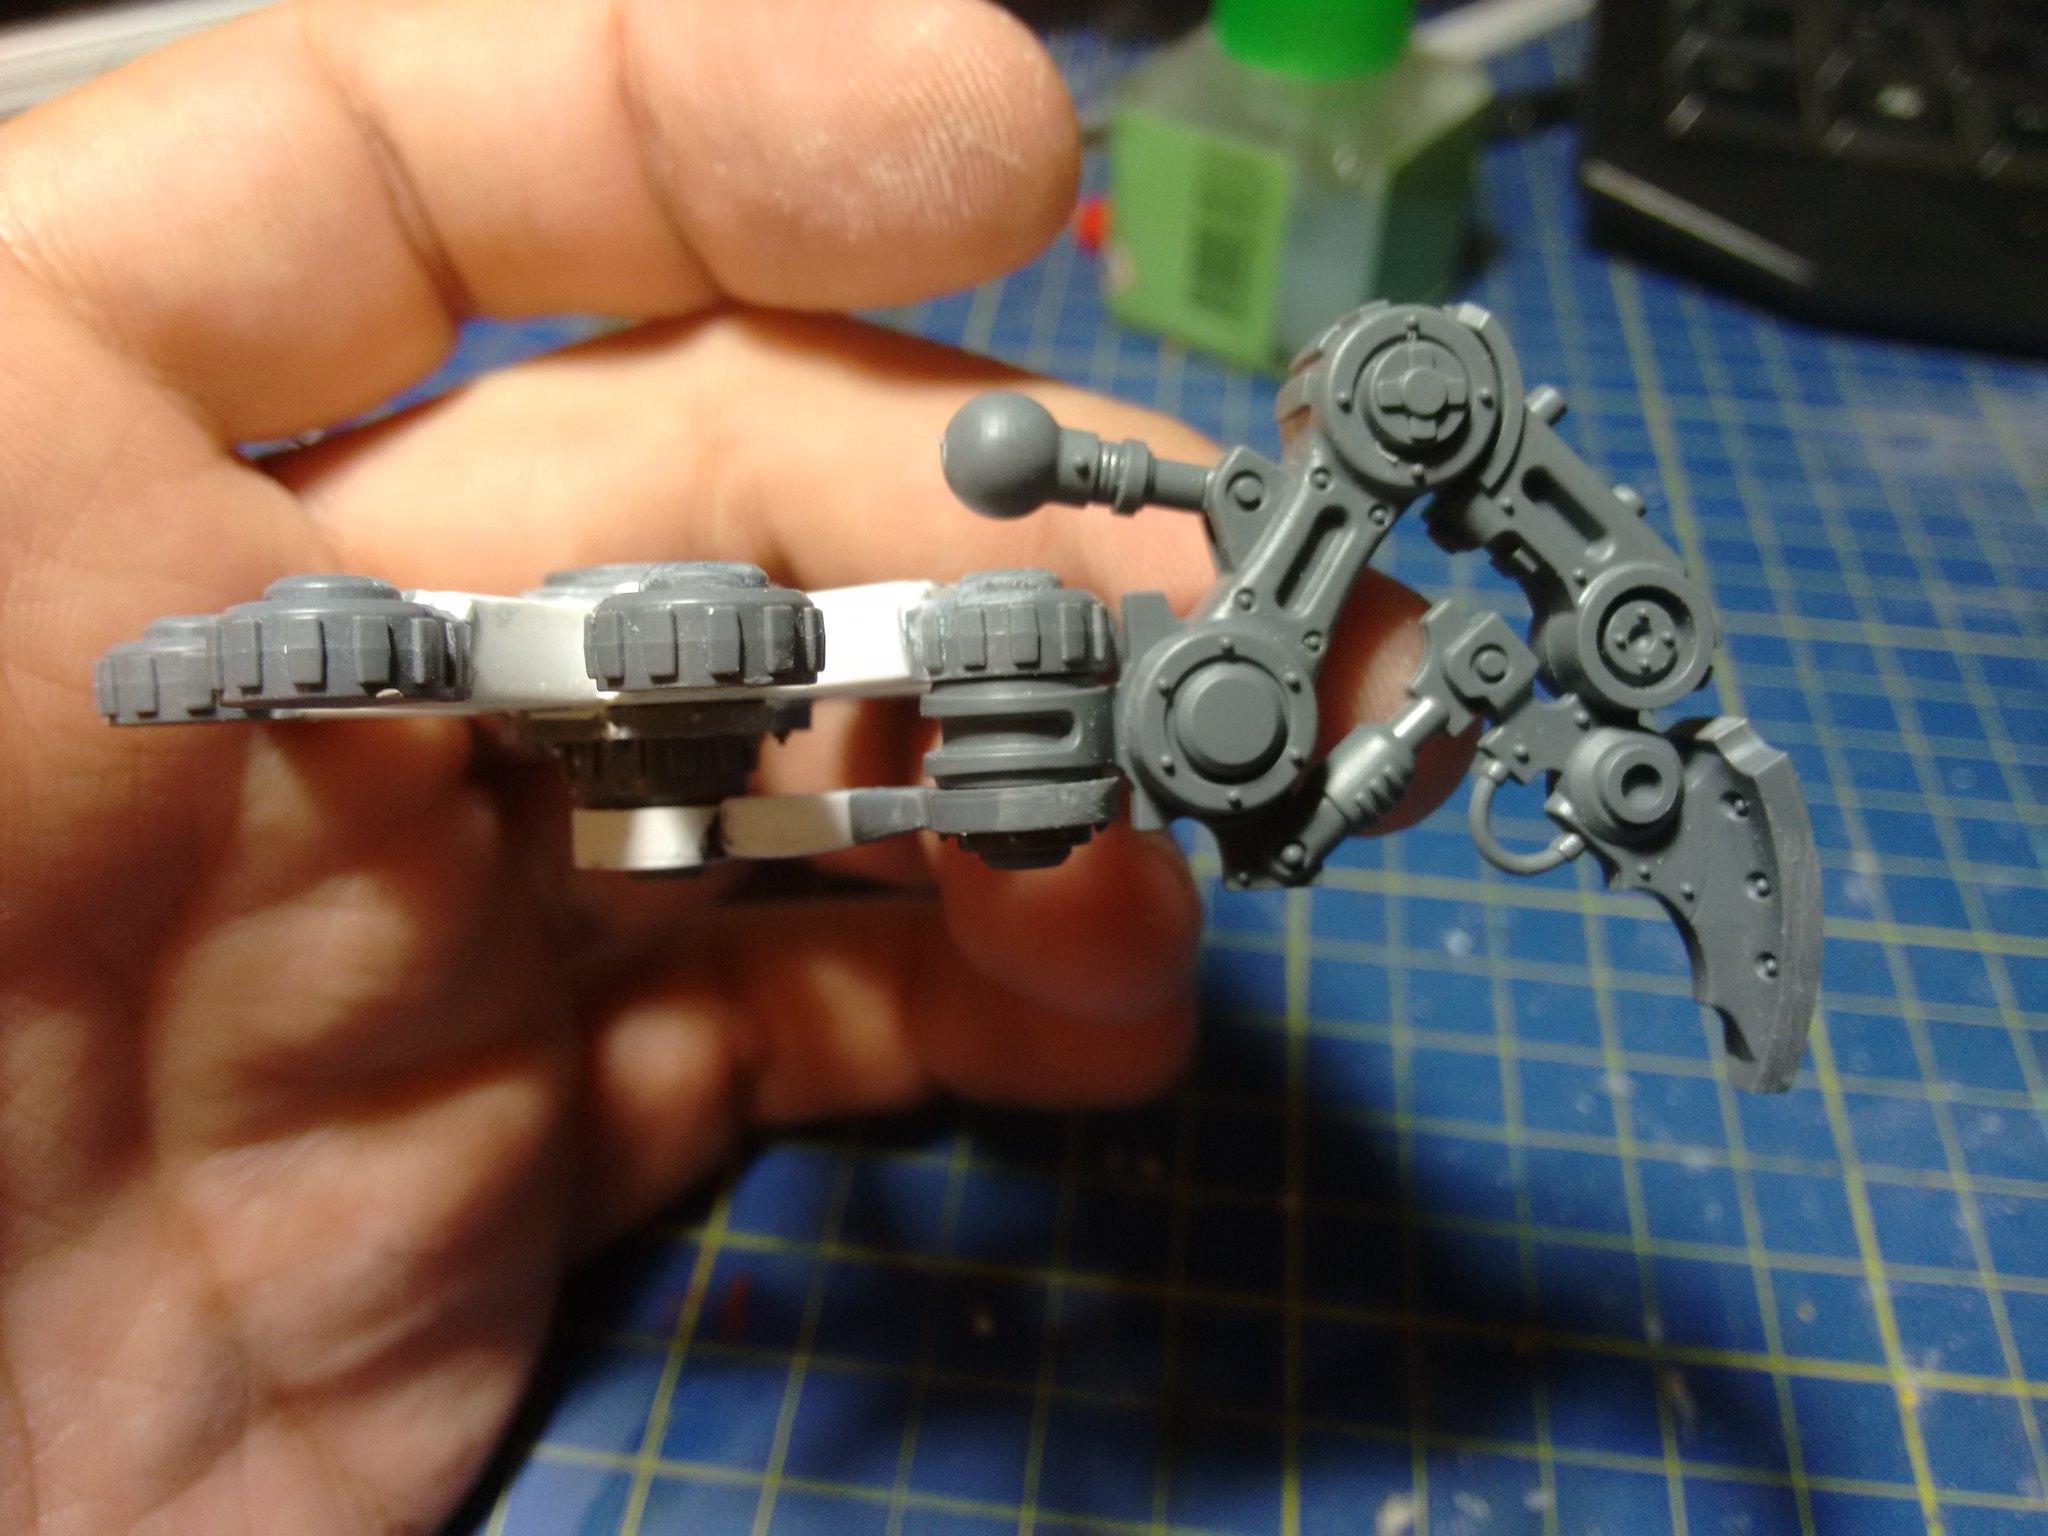 |
| And it's still mobile |
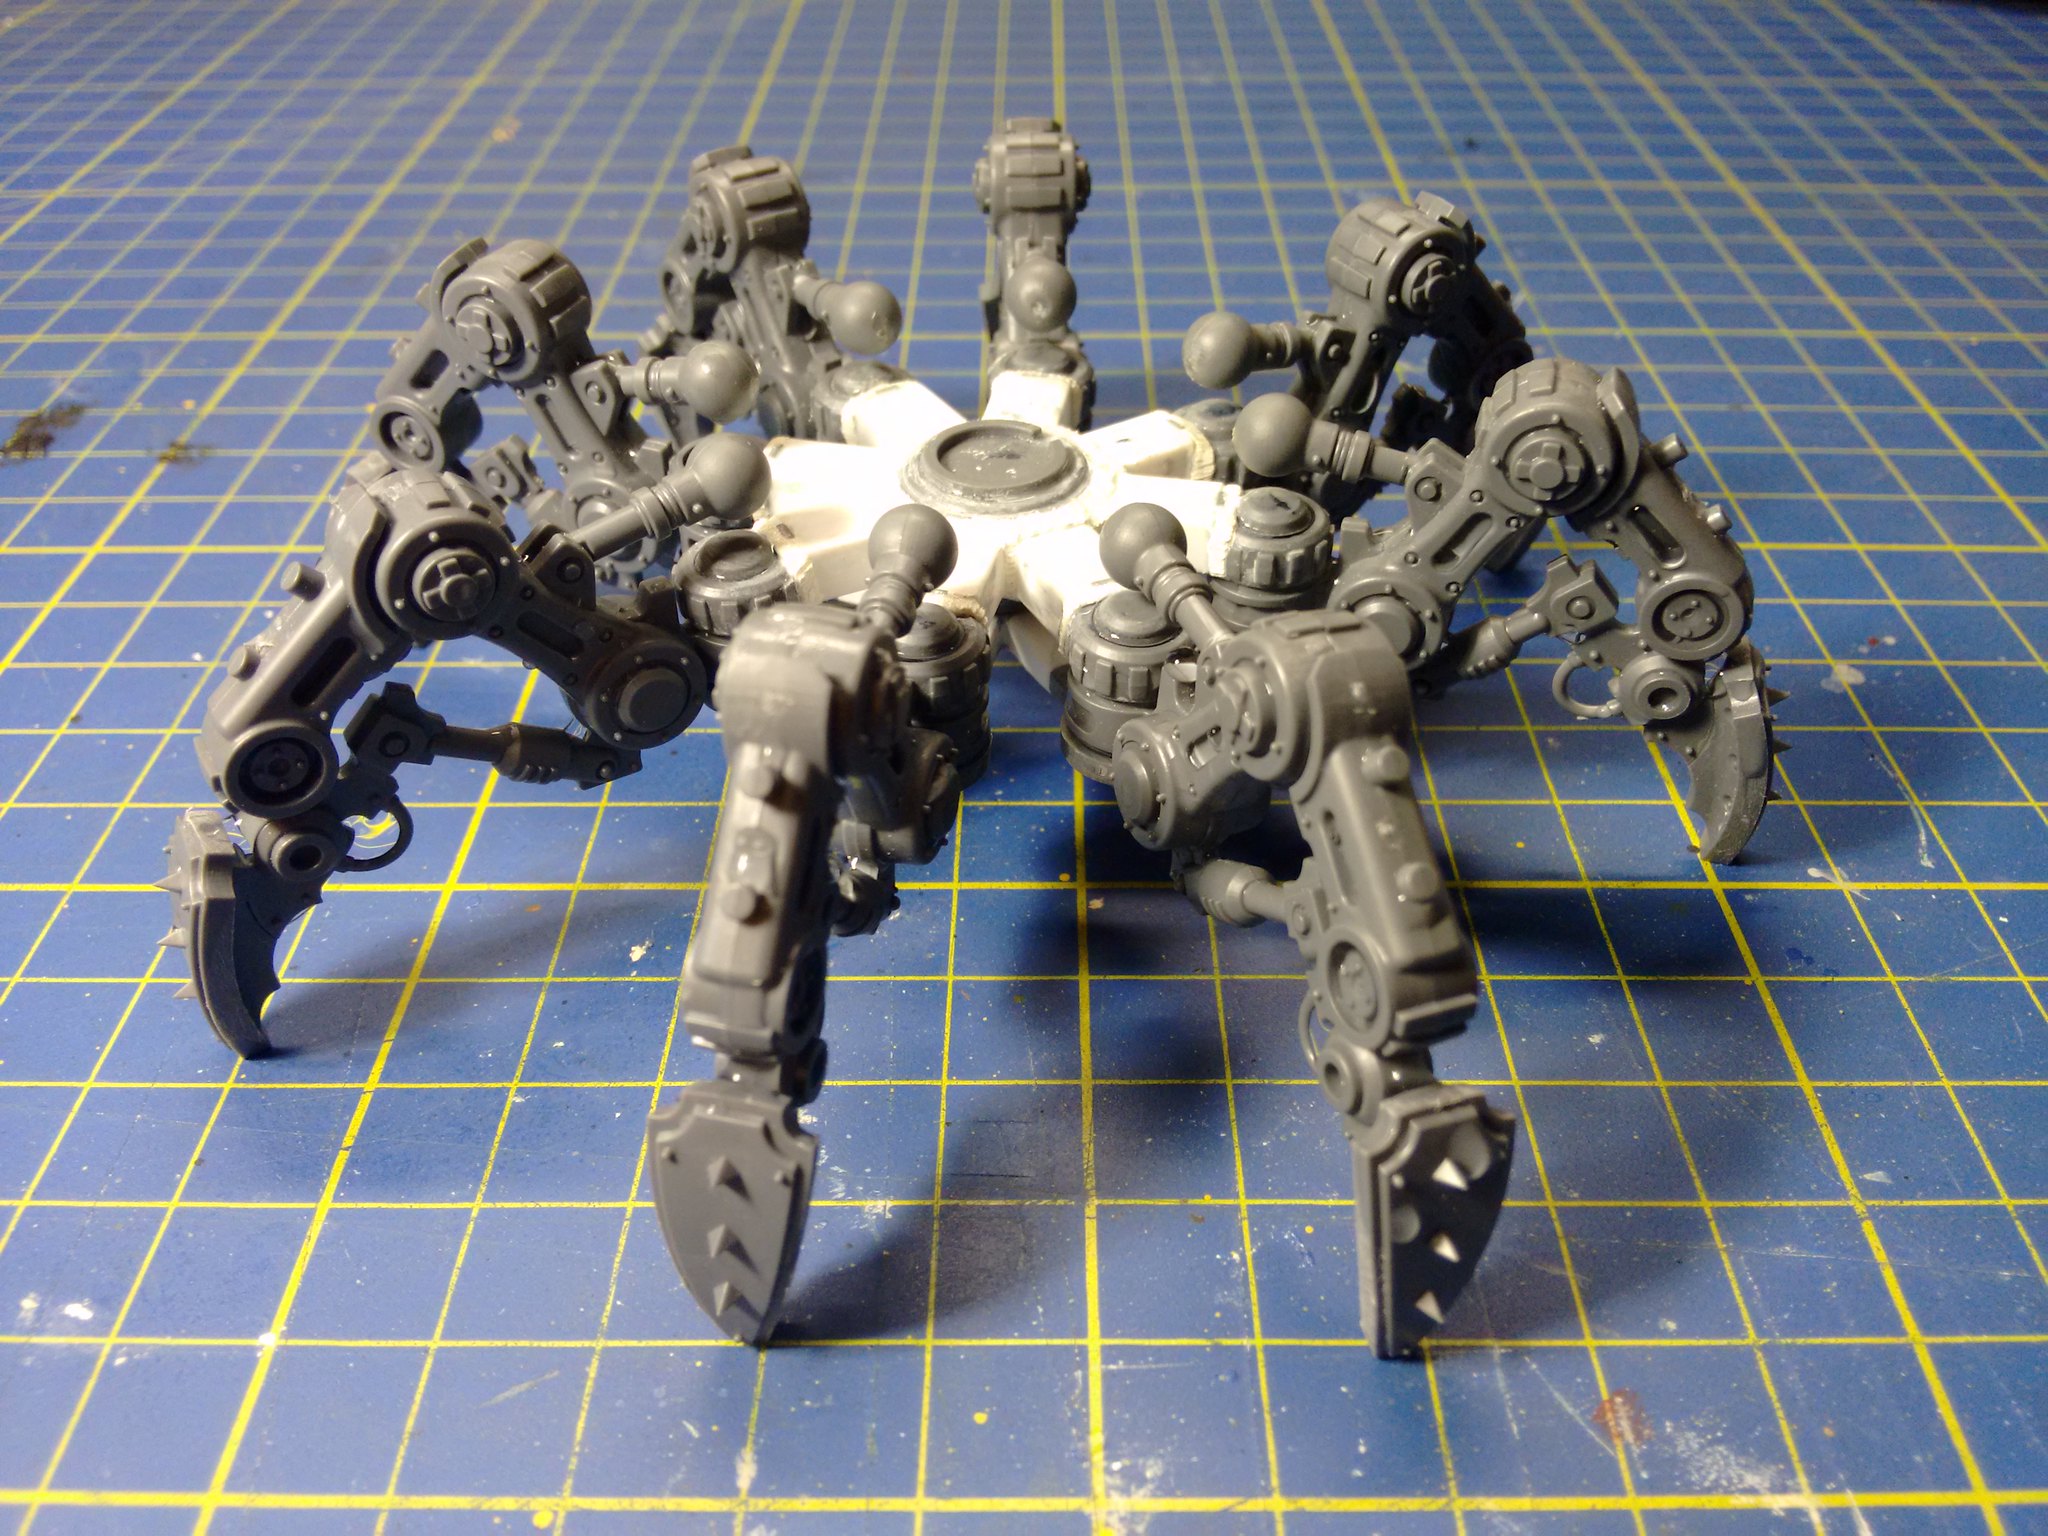 |
| Yes. More legs are definitively better. |
Don't miss the other articles of this series. Here you can find Part 2 and Part 3.
No comments:
Post a Comment