

Tony Stark
When I said I'm slow, I meant it.
One of the most most difficult parts when it comes to kitbashing is being consistent: at the end your creation must looks homogeneous, as if it was conceived in that way.
That's why some background can really help a simple idea like "what about merging two of these things".
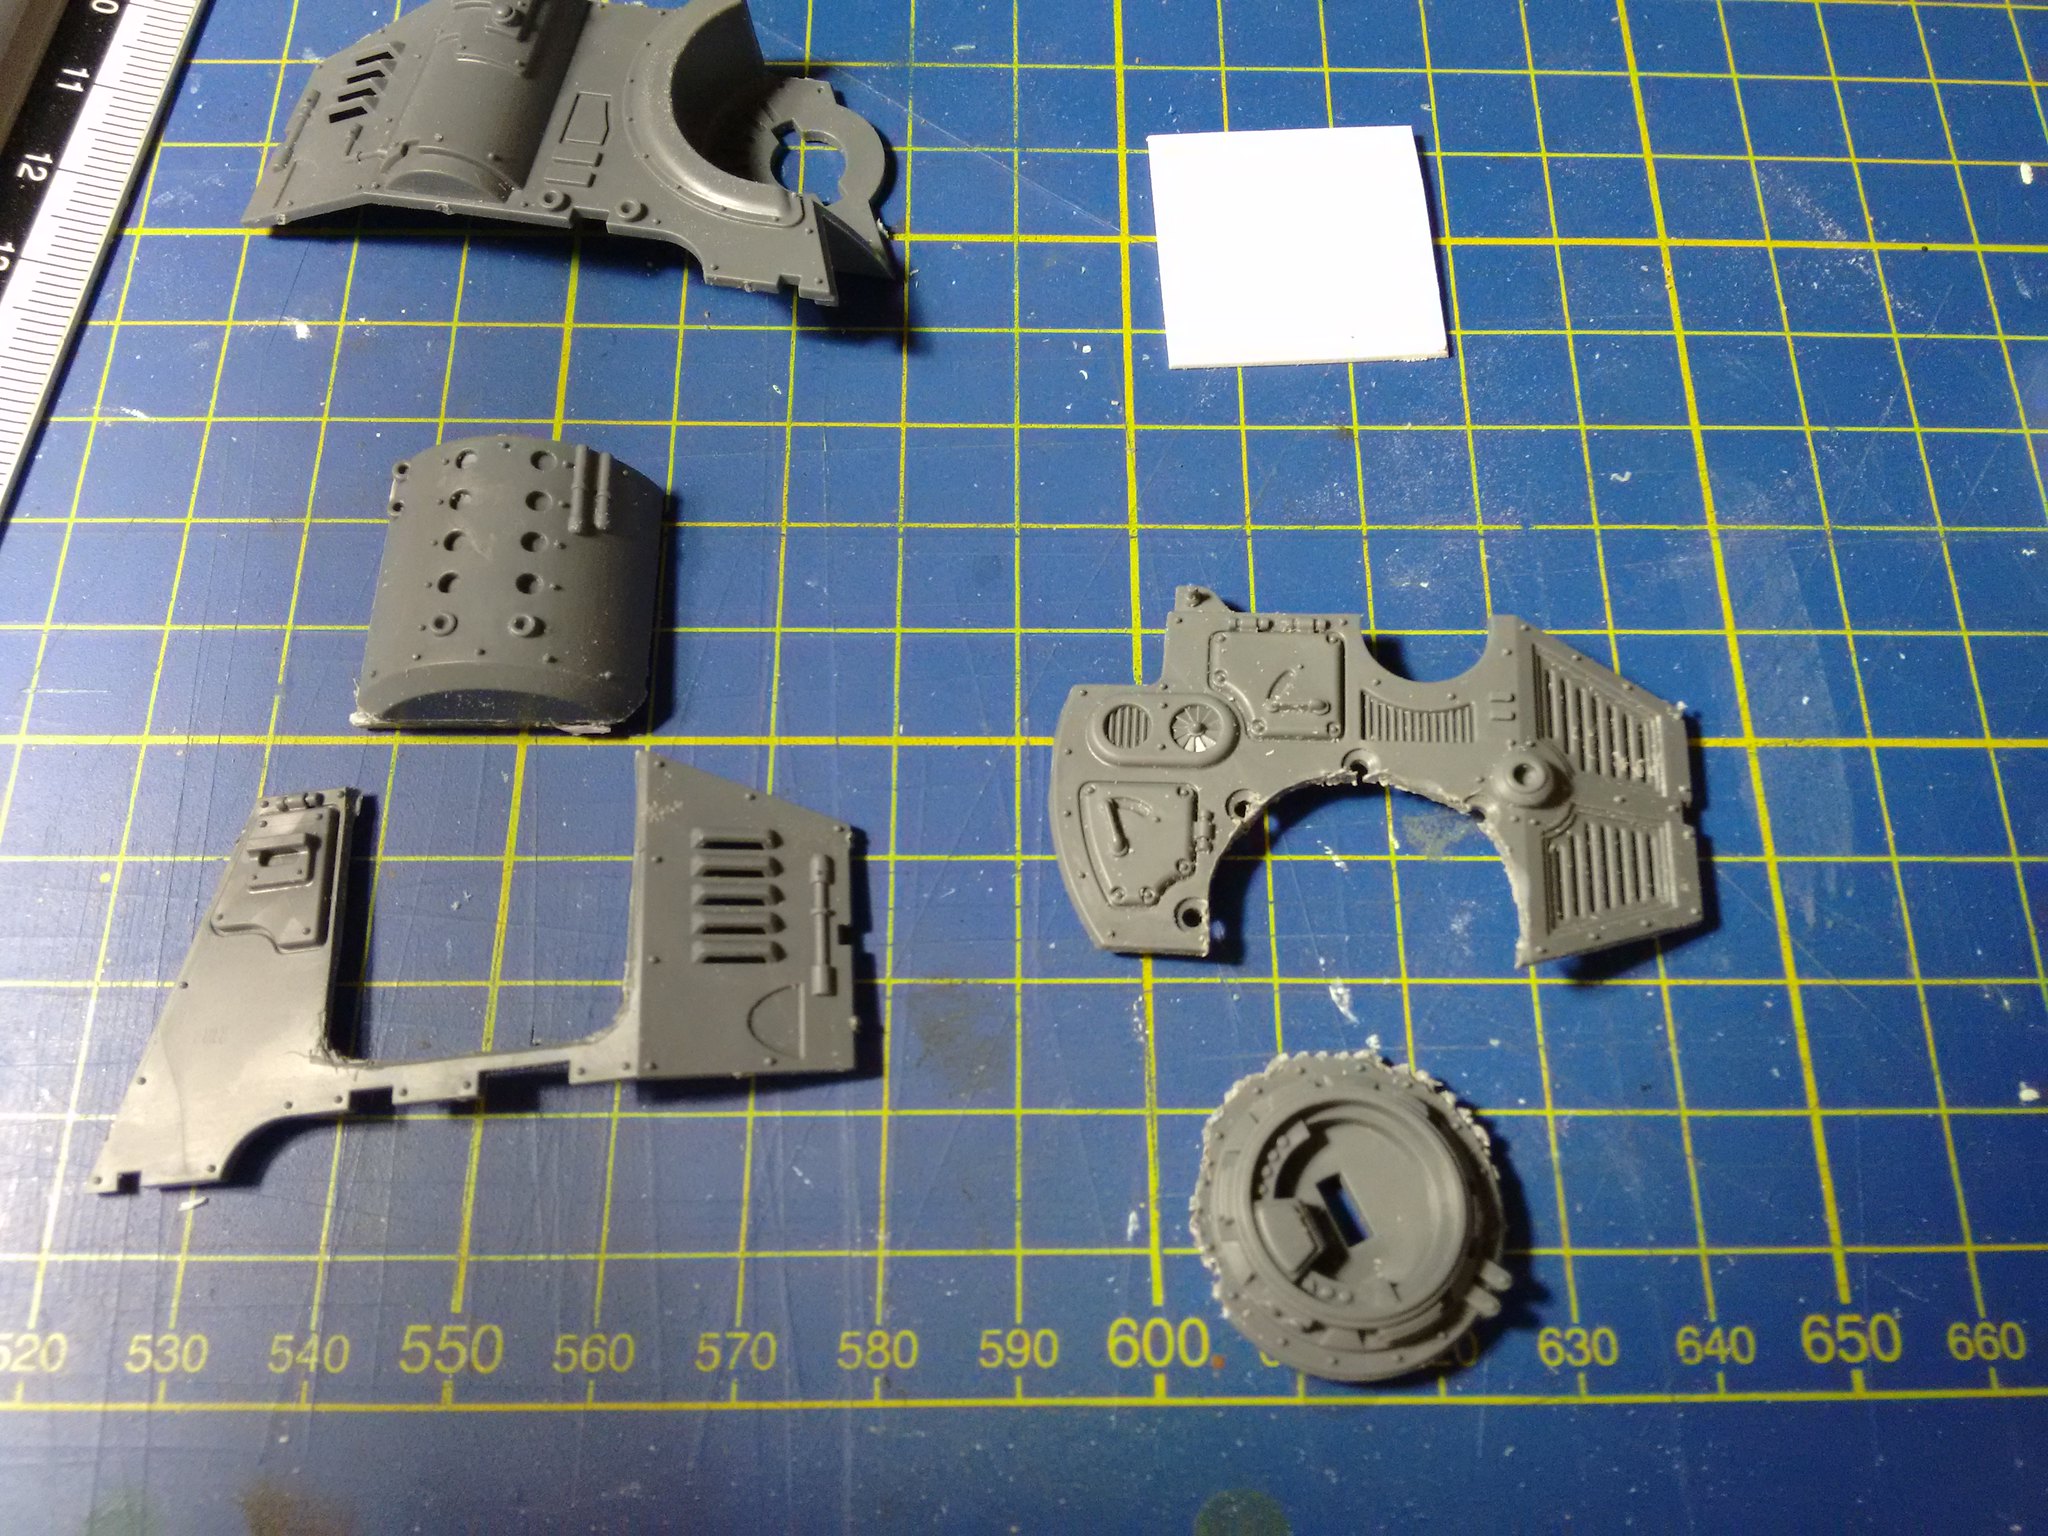
Skitarii lack big tanks, but a long time ago, maybe during a wearing siege, the ancestors of this military force needed a bigger boat.
The grandfather of the recent Dune Crawler.
Something that could be built using only spare parts and good bits stripped from wreckages. Something autonomous in every aspect that could move, aim and fire constantly, from every side, unmanned.
Basically a walking bunker, providing massive suppressive fire for the remaining few, during their last counterattack.
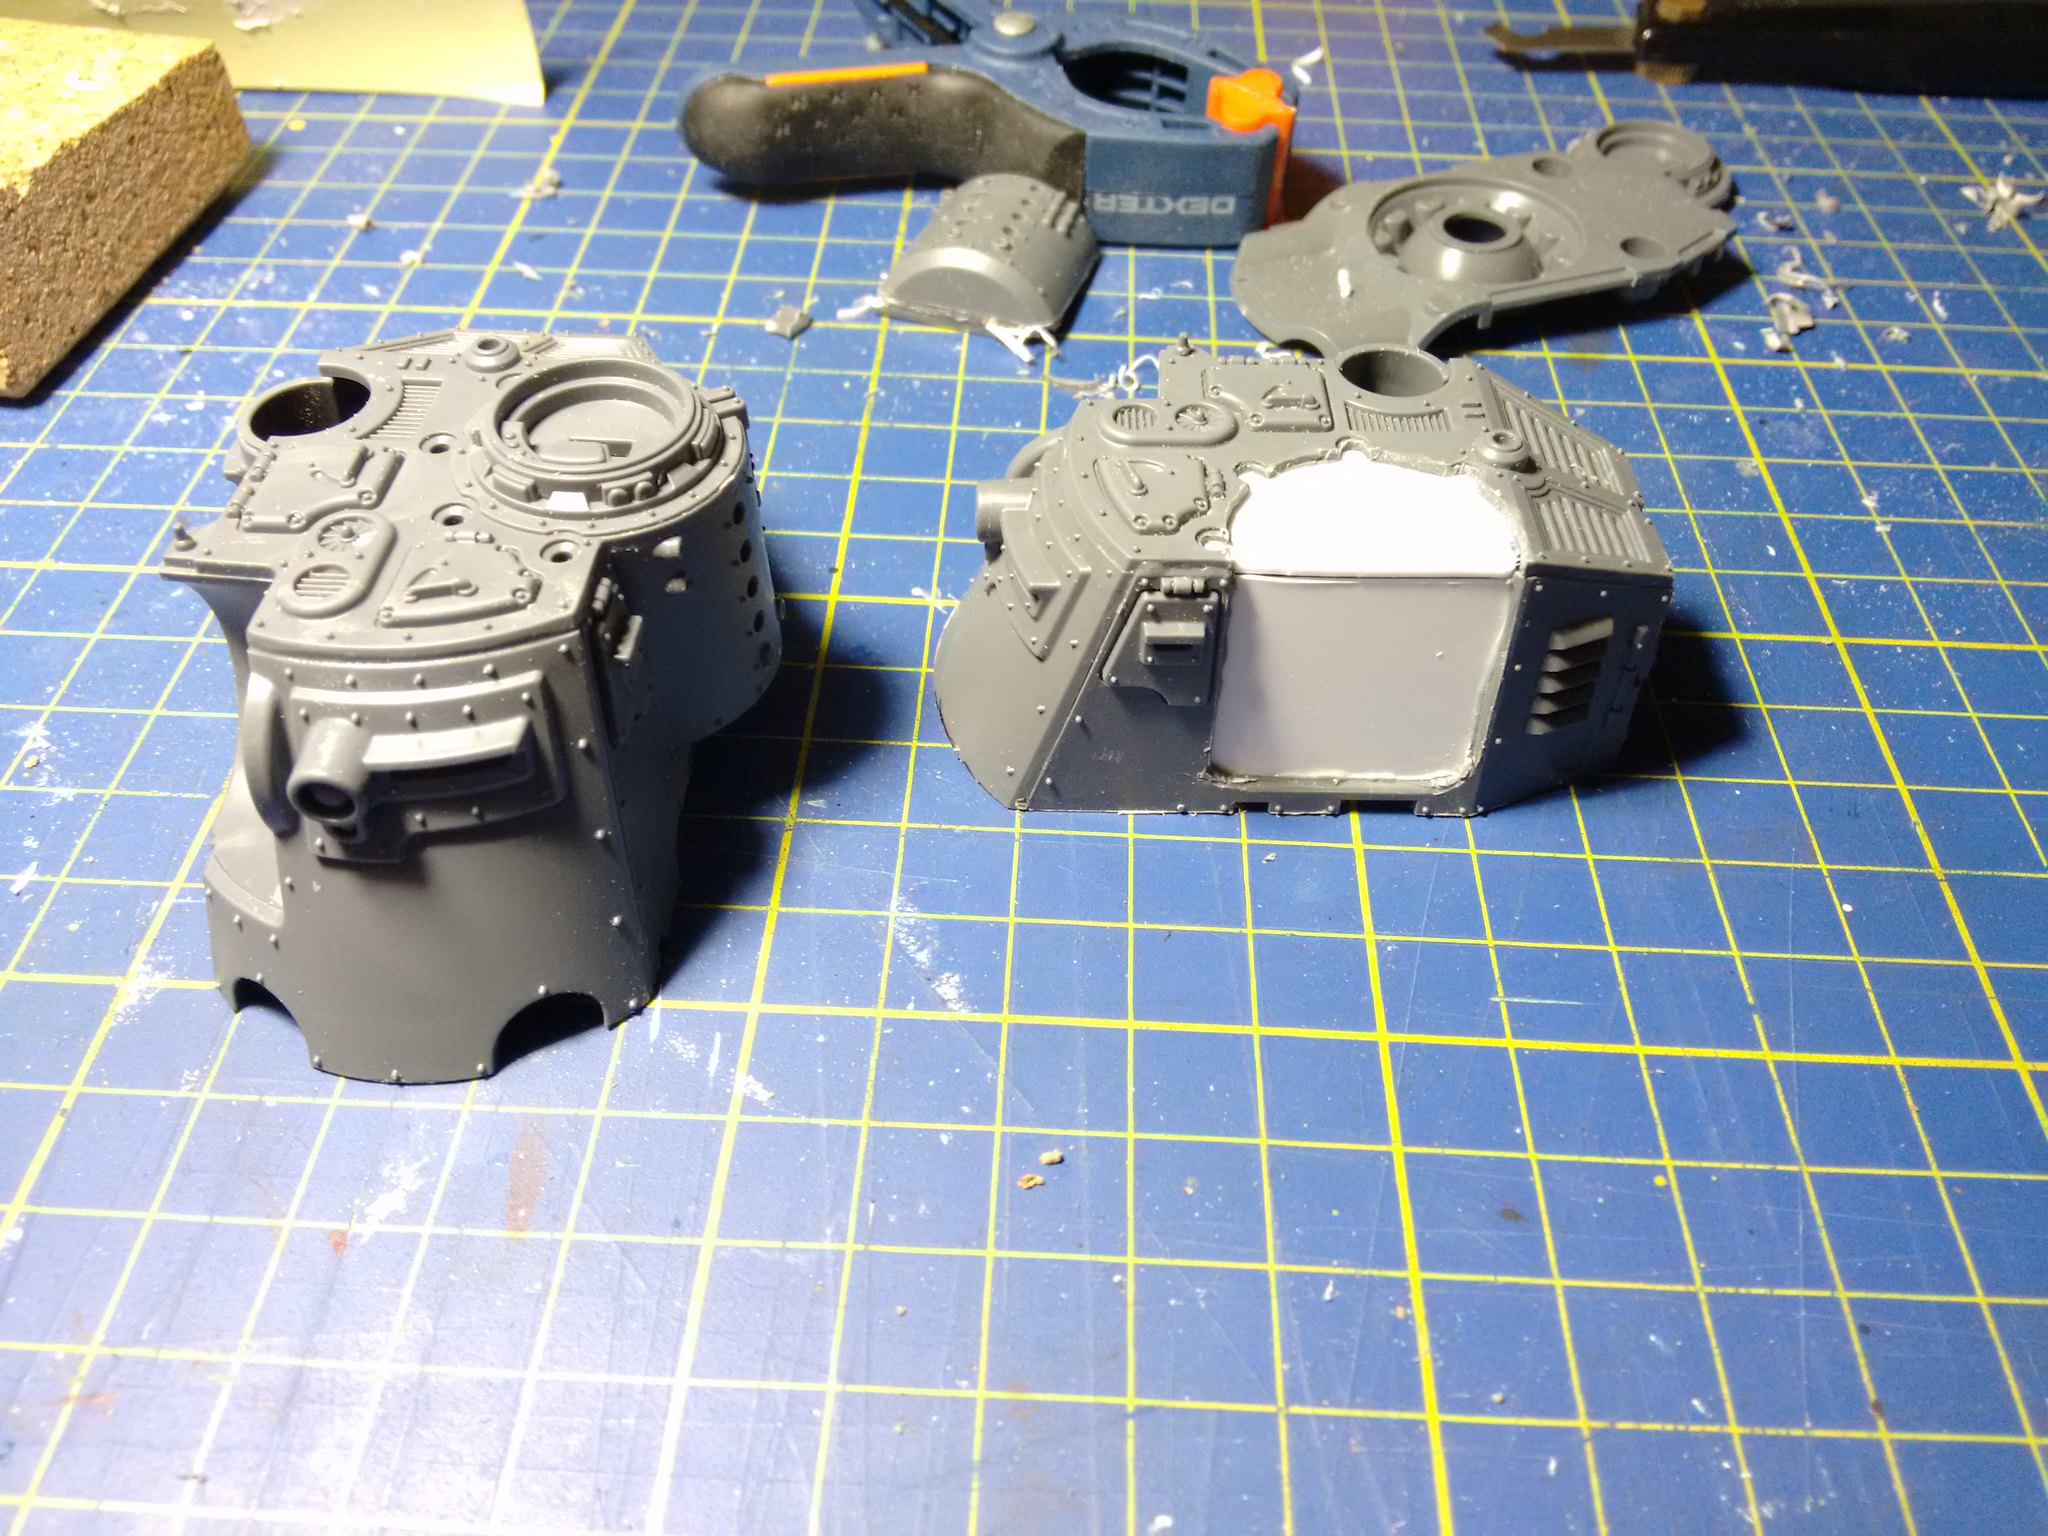
Being built in such dreadful conditions, it will not be perfect and polished.
There will be visible welding beads all along the hull, showing the "scars" of the tumultuous constructions.
 |
| "It's not for the faint-hearted, I warn you." |
The front plate will be shortened too.
 |
| We can rebuild it, we have the technology! |
A solid inner structure is mandatory to work comfortably later.
Styrene is, as always, your best friend.
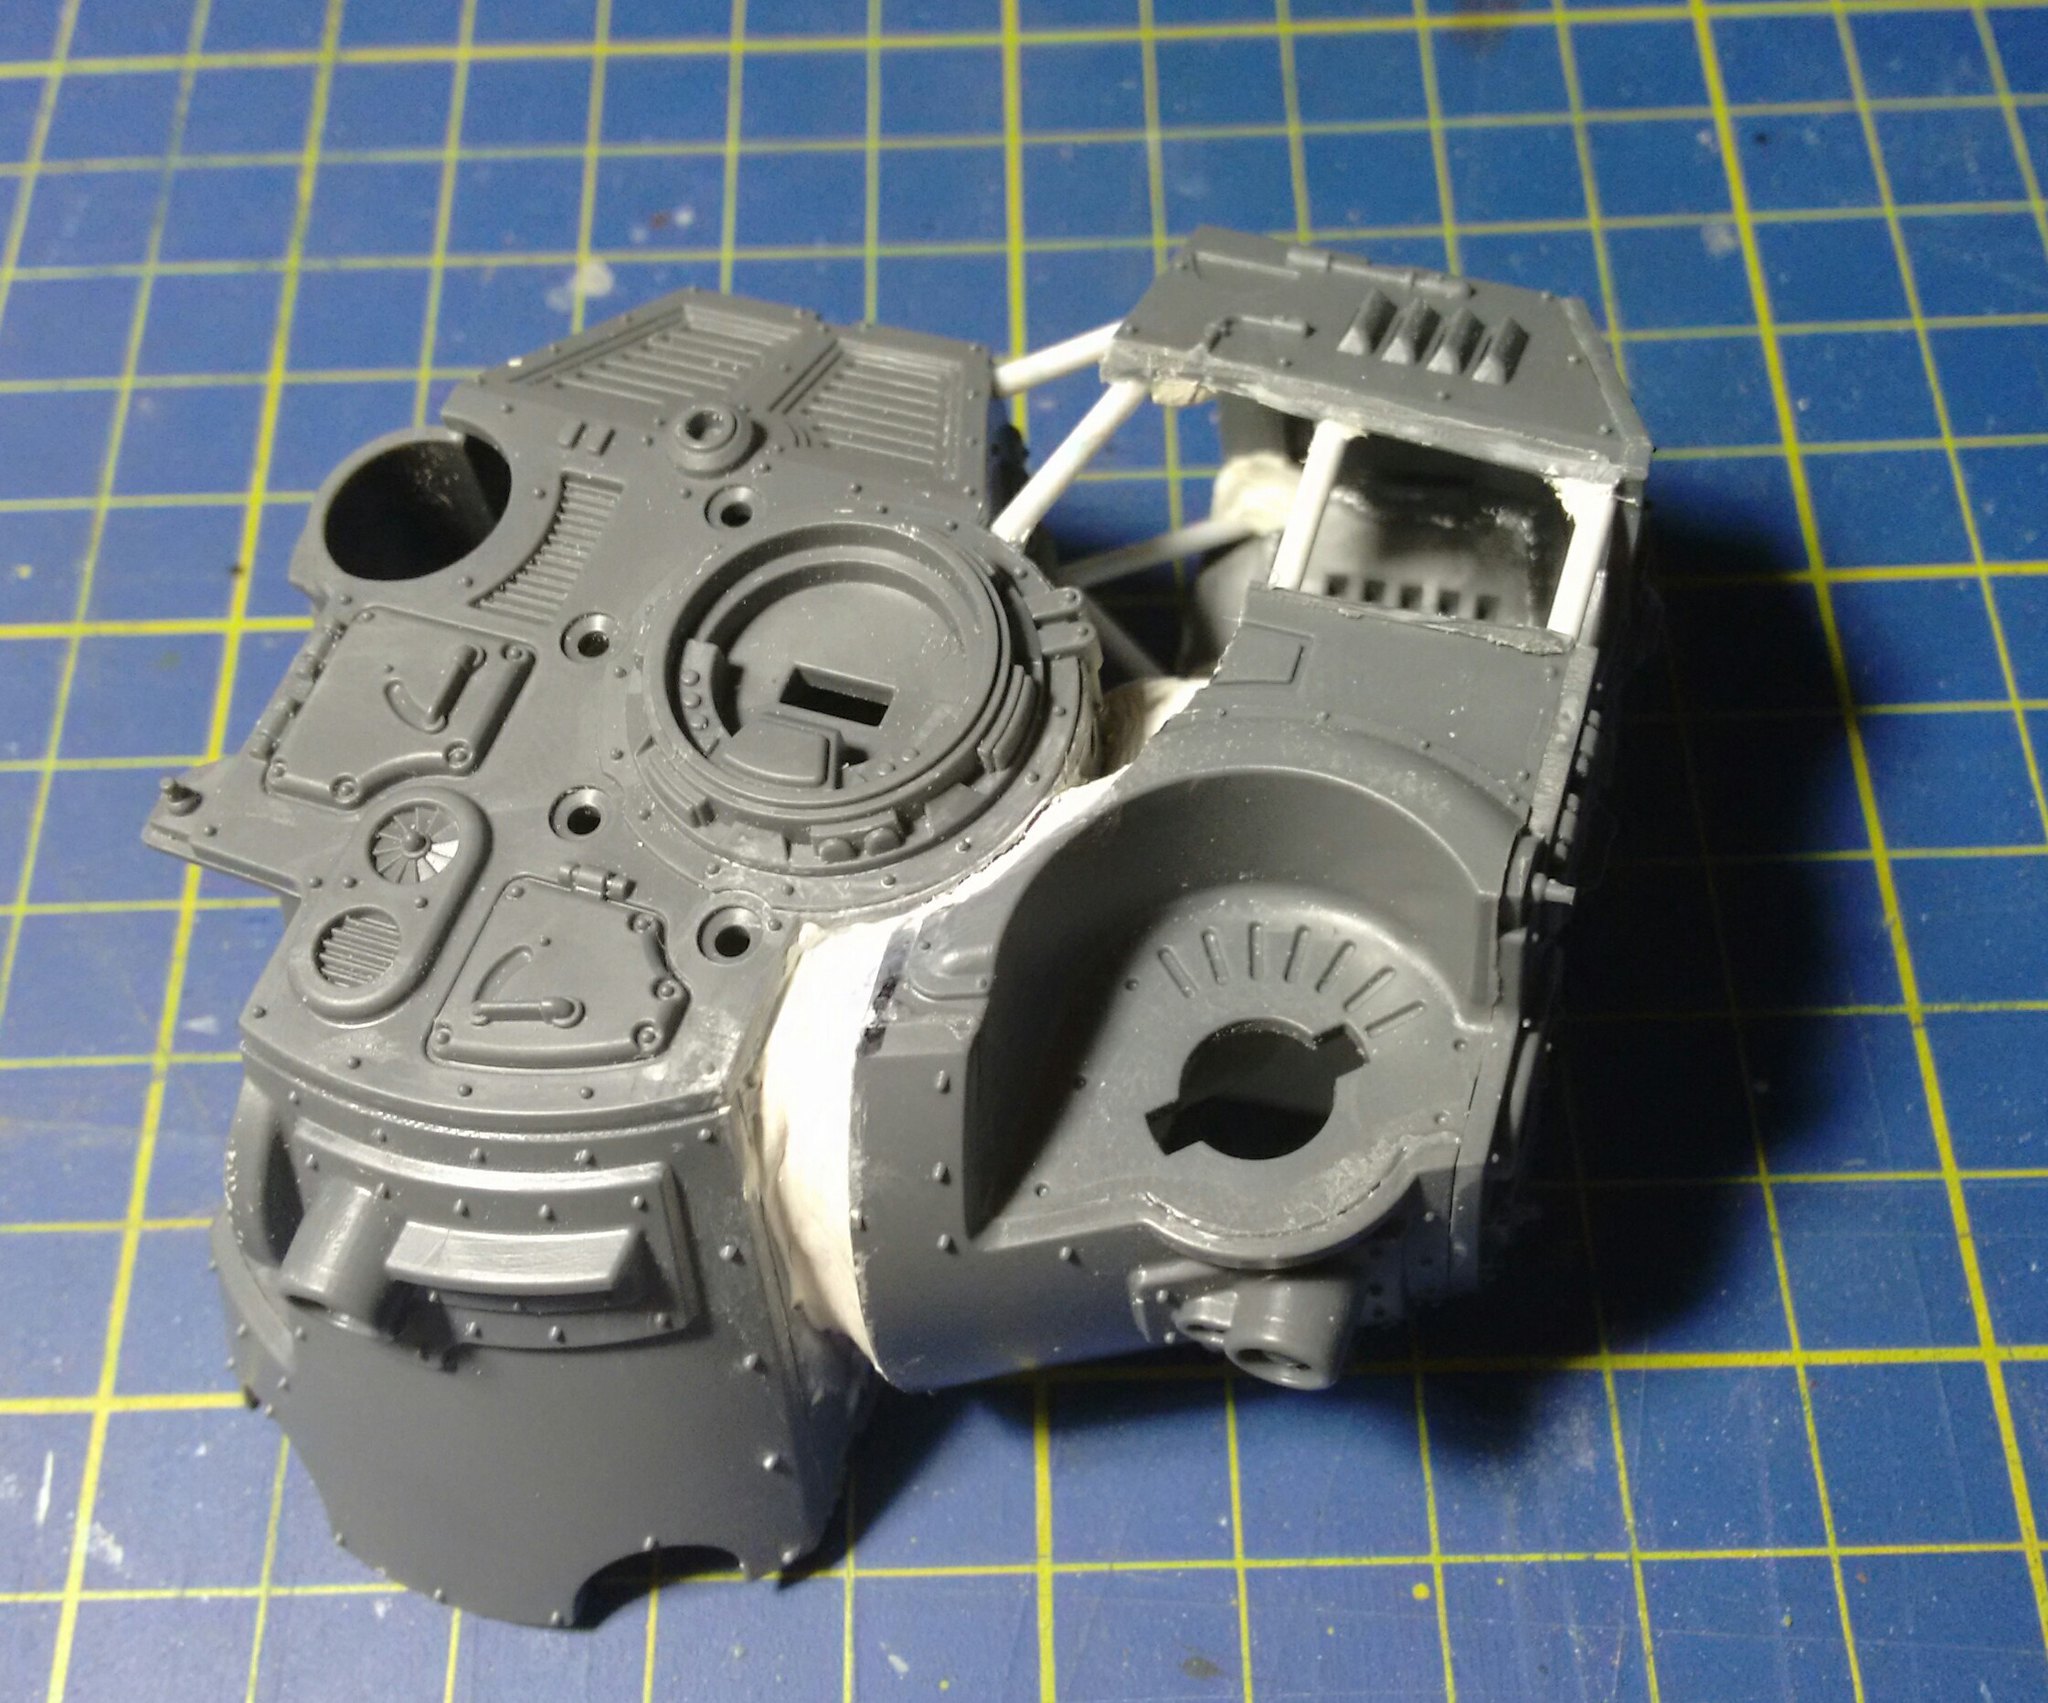
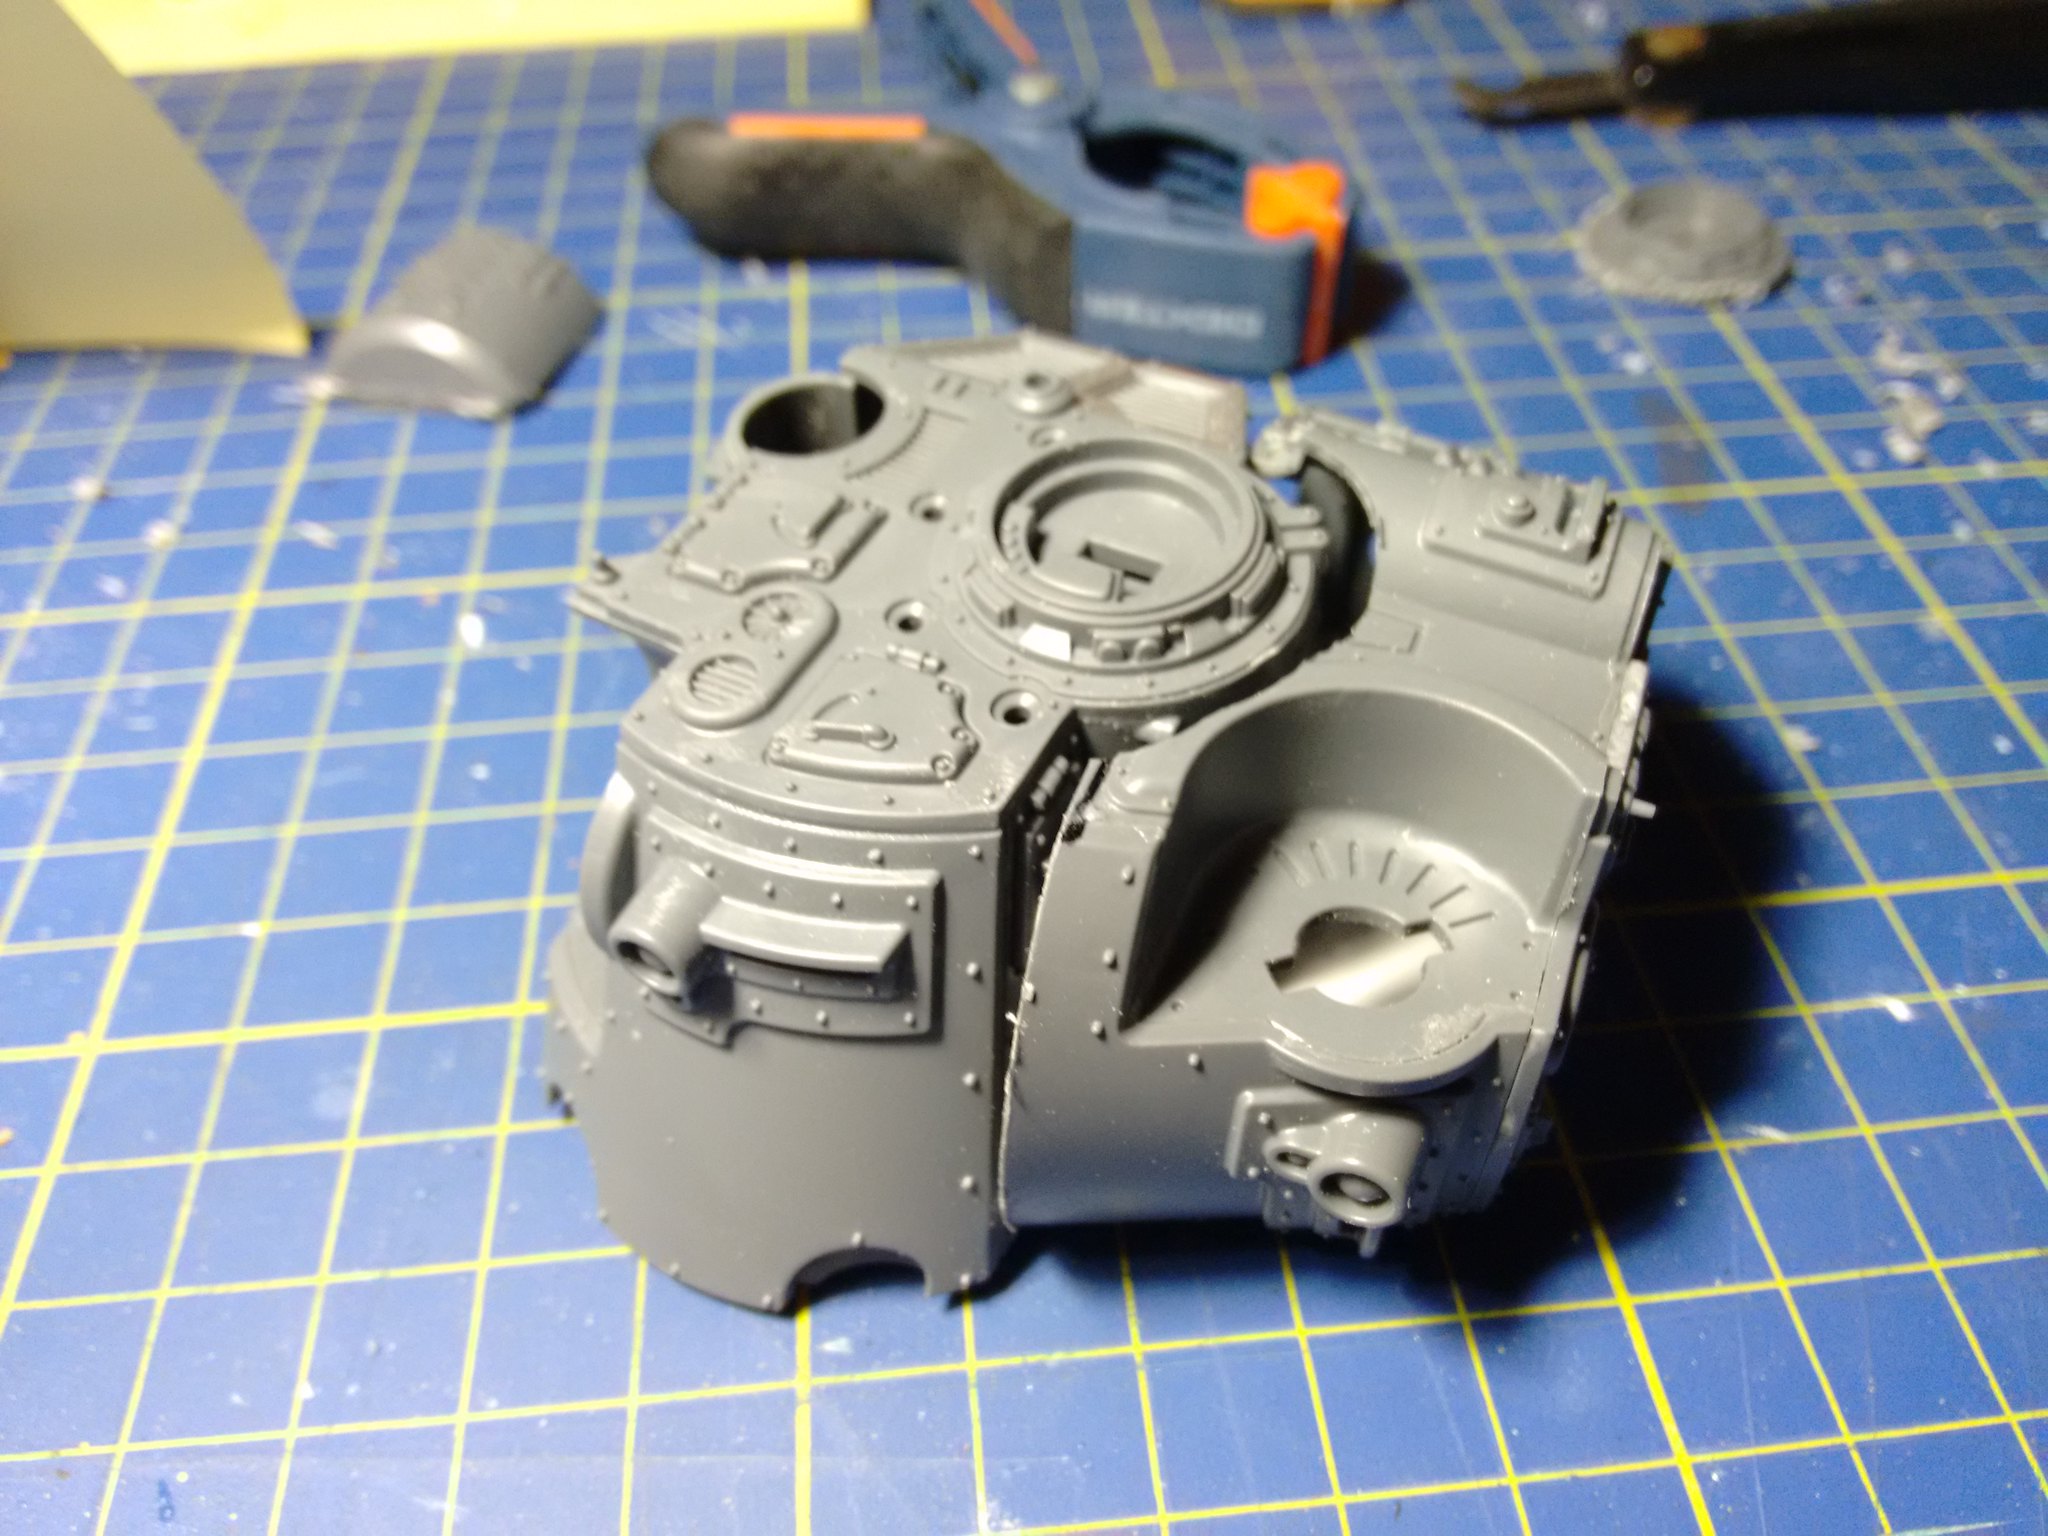 |
| Alignment will be crucial to maintain the hatch intact |
This has to be be fixed, or it will crack every bit of putty we'll try to use to heal the gaps.
Strong and light can be achieved with a rollcage glued between the chassis.
 |
| Ready for the Paris-Dakar |
Remeber to keep the two parts correctly aligned while the putty hardens.
You can help the process with a small rod of styrene glued with a minimum amount of cyanoacrylic glue as level reference. Once the putty is dry, the CA glue will break neatly with a small torsion.
 |
| Rock solid! |
The rollcage will provide a good reference to get the correct measures with a caliper or a ruler.
Don't be lazy and cover every bit even if it looks that the position will be totally hidden by other parts.
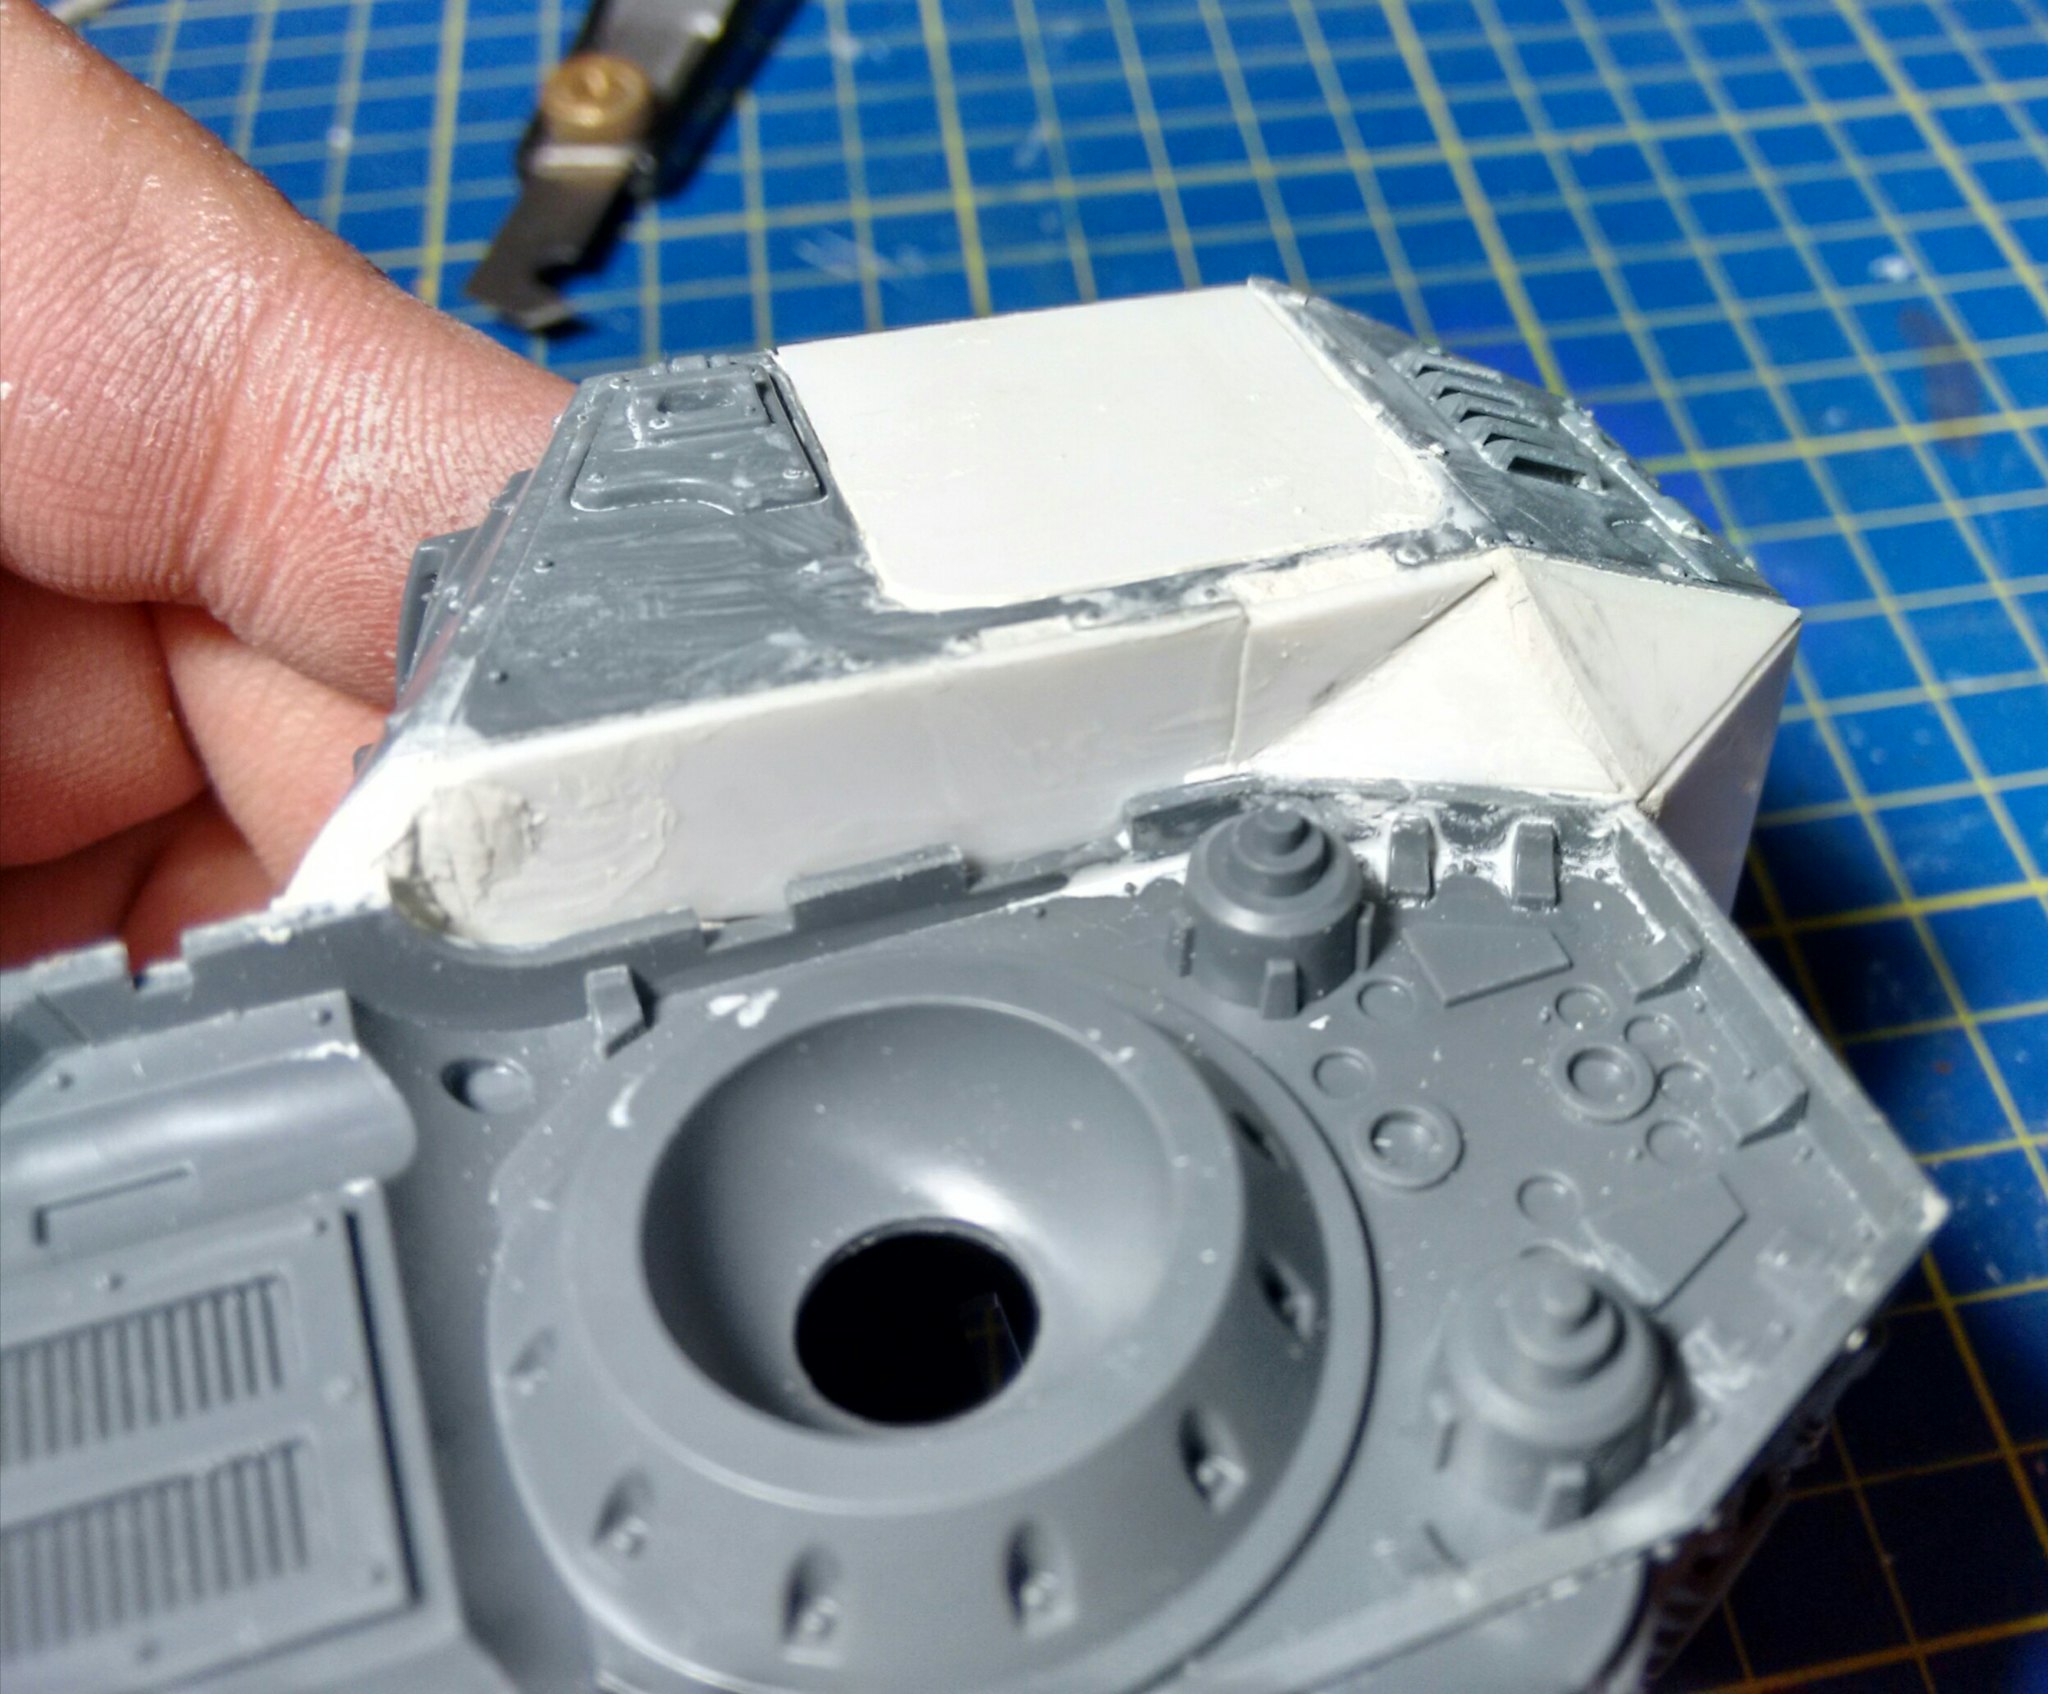 |
| A good layer of glue will help with the joints |
Be a bit generous in this phase. There will be plenty of time to sand the excess. Just achieve a satisfying shape and smooth the border with some alcohol.
You can find precious visual references on WWII tank photos.
 |
| Just be careful to not "eat" some detail with the putty |
Putty and sandpaper will fix everything later.
 |
| The rollcage will offer a good support for the plates too |
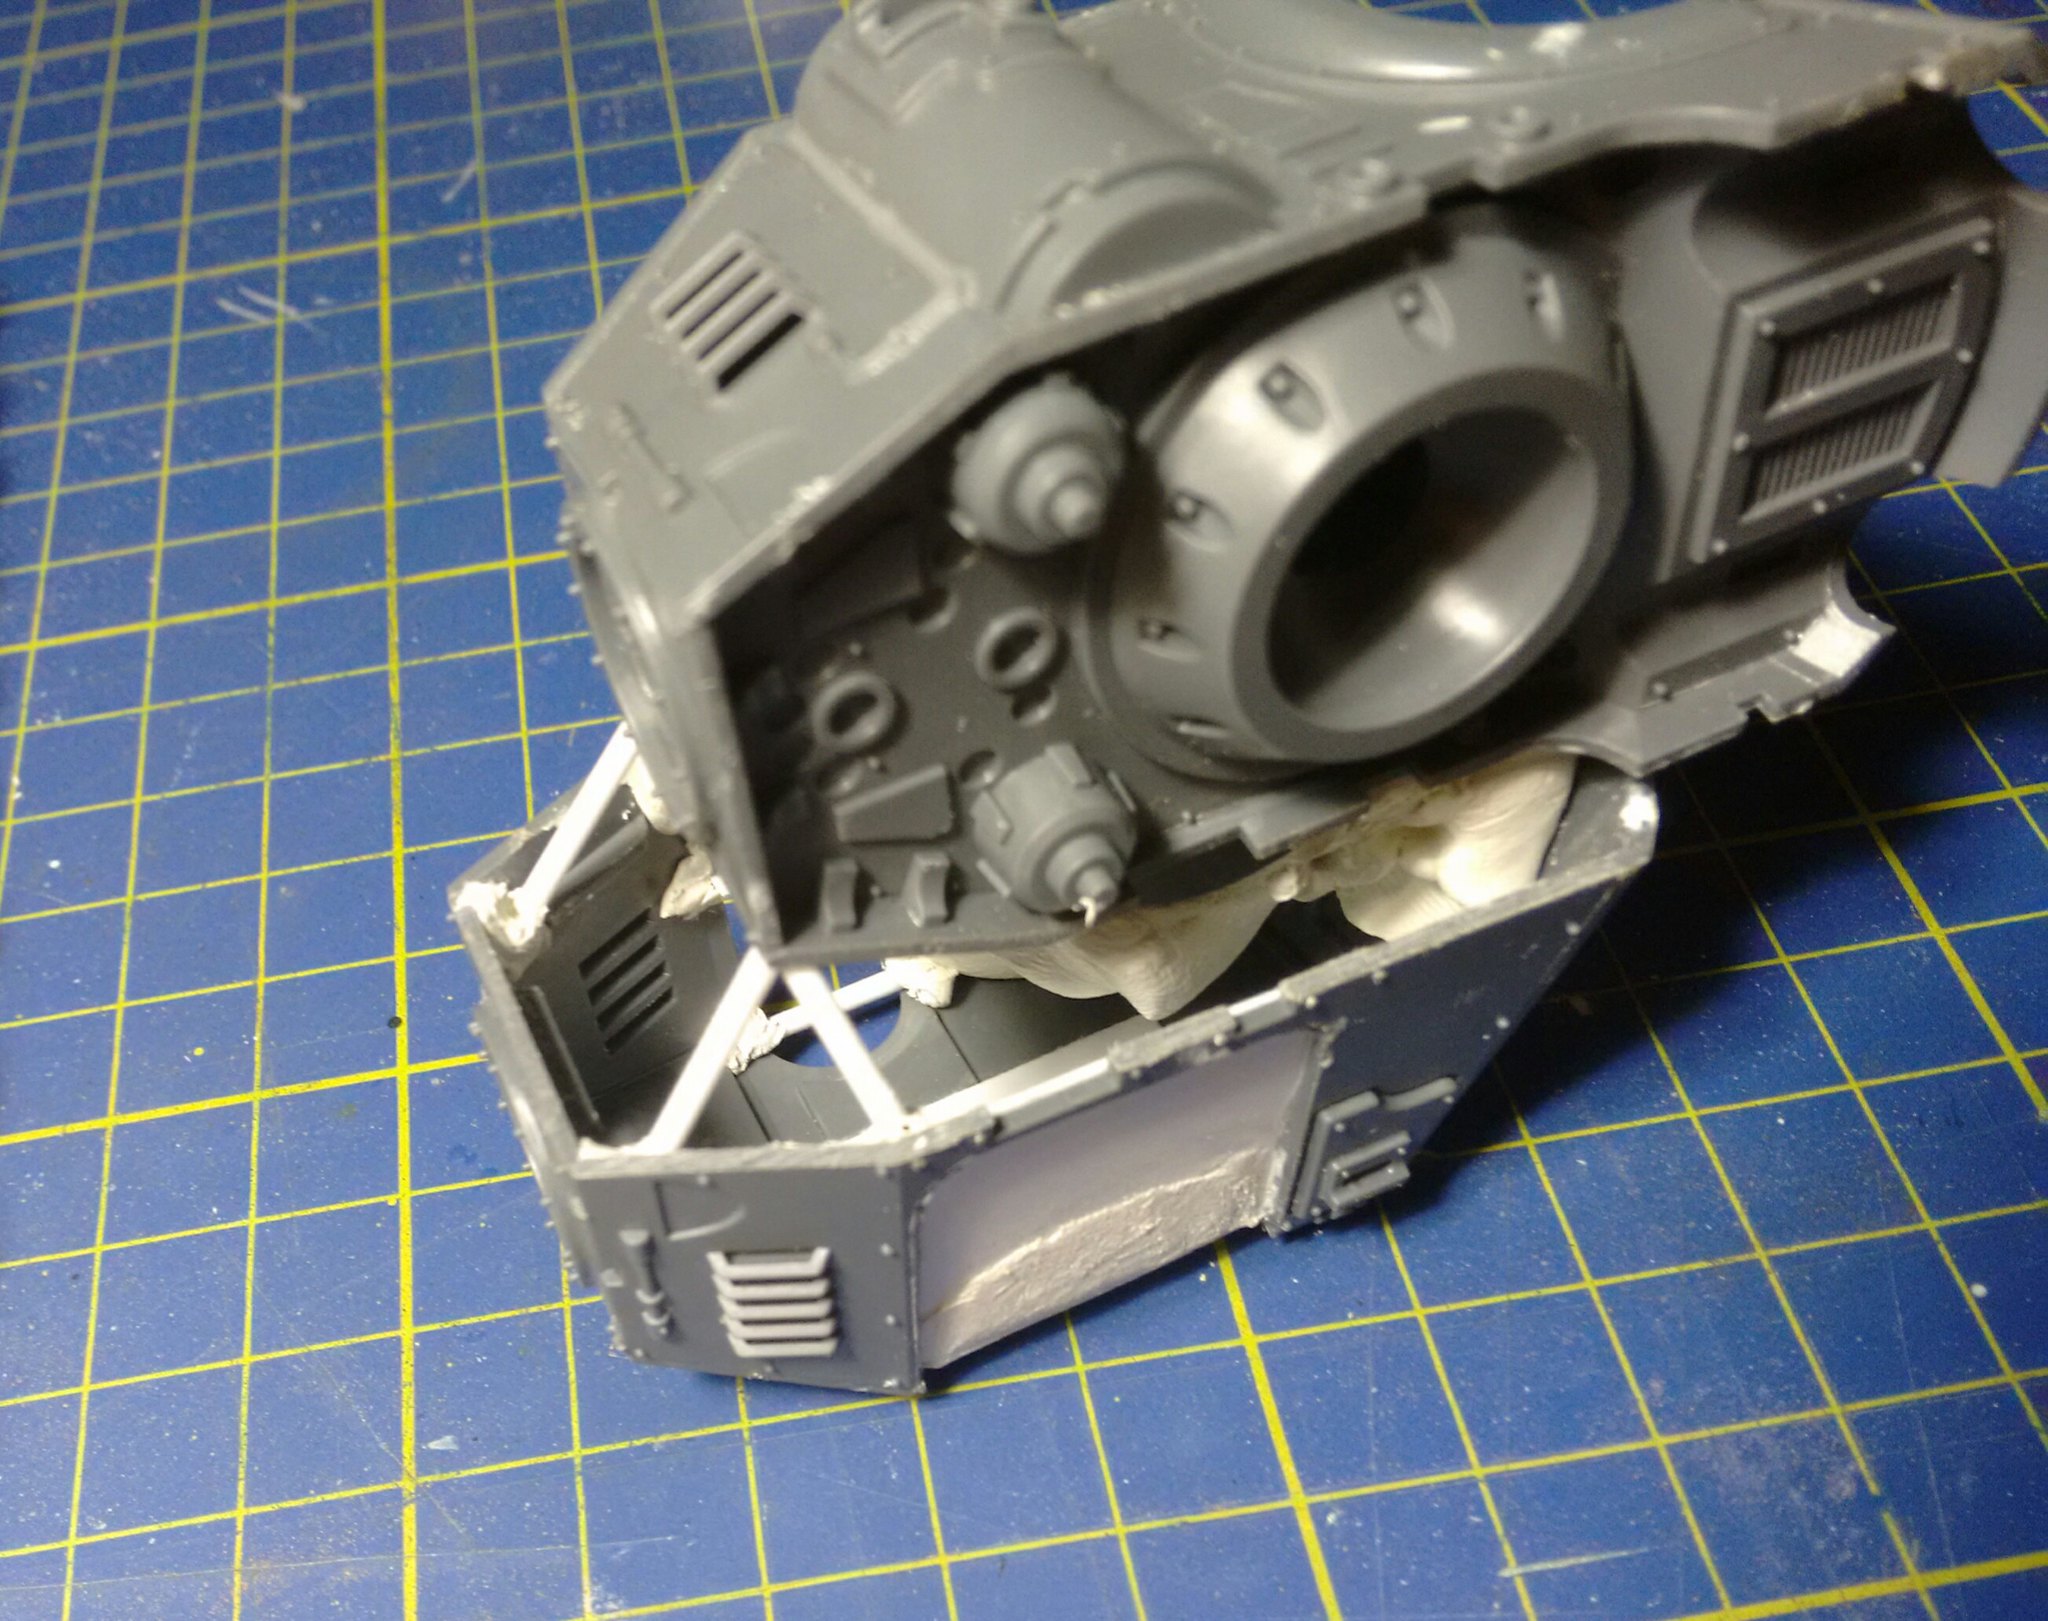
Just remember to be careful with the glue, the strip needs to be thin to bend properly, and too much glue can accumulate on some areas, melting through the plastic.
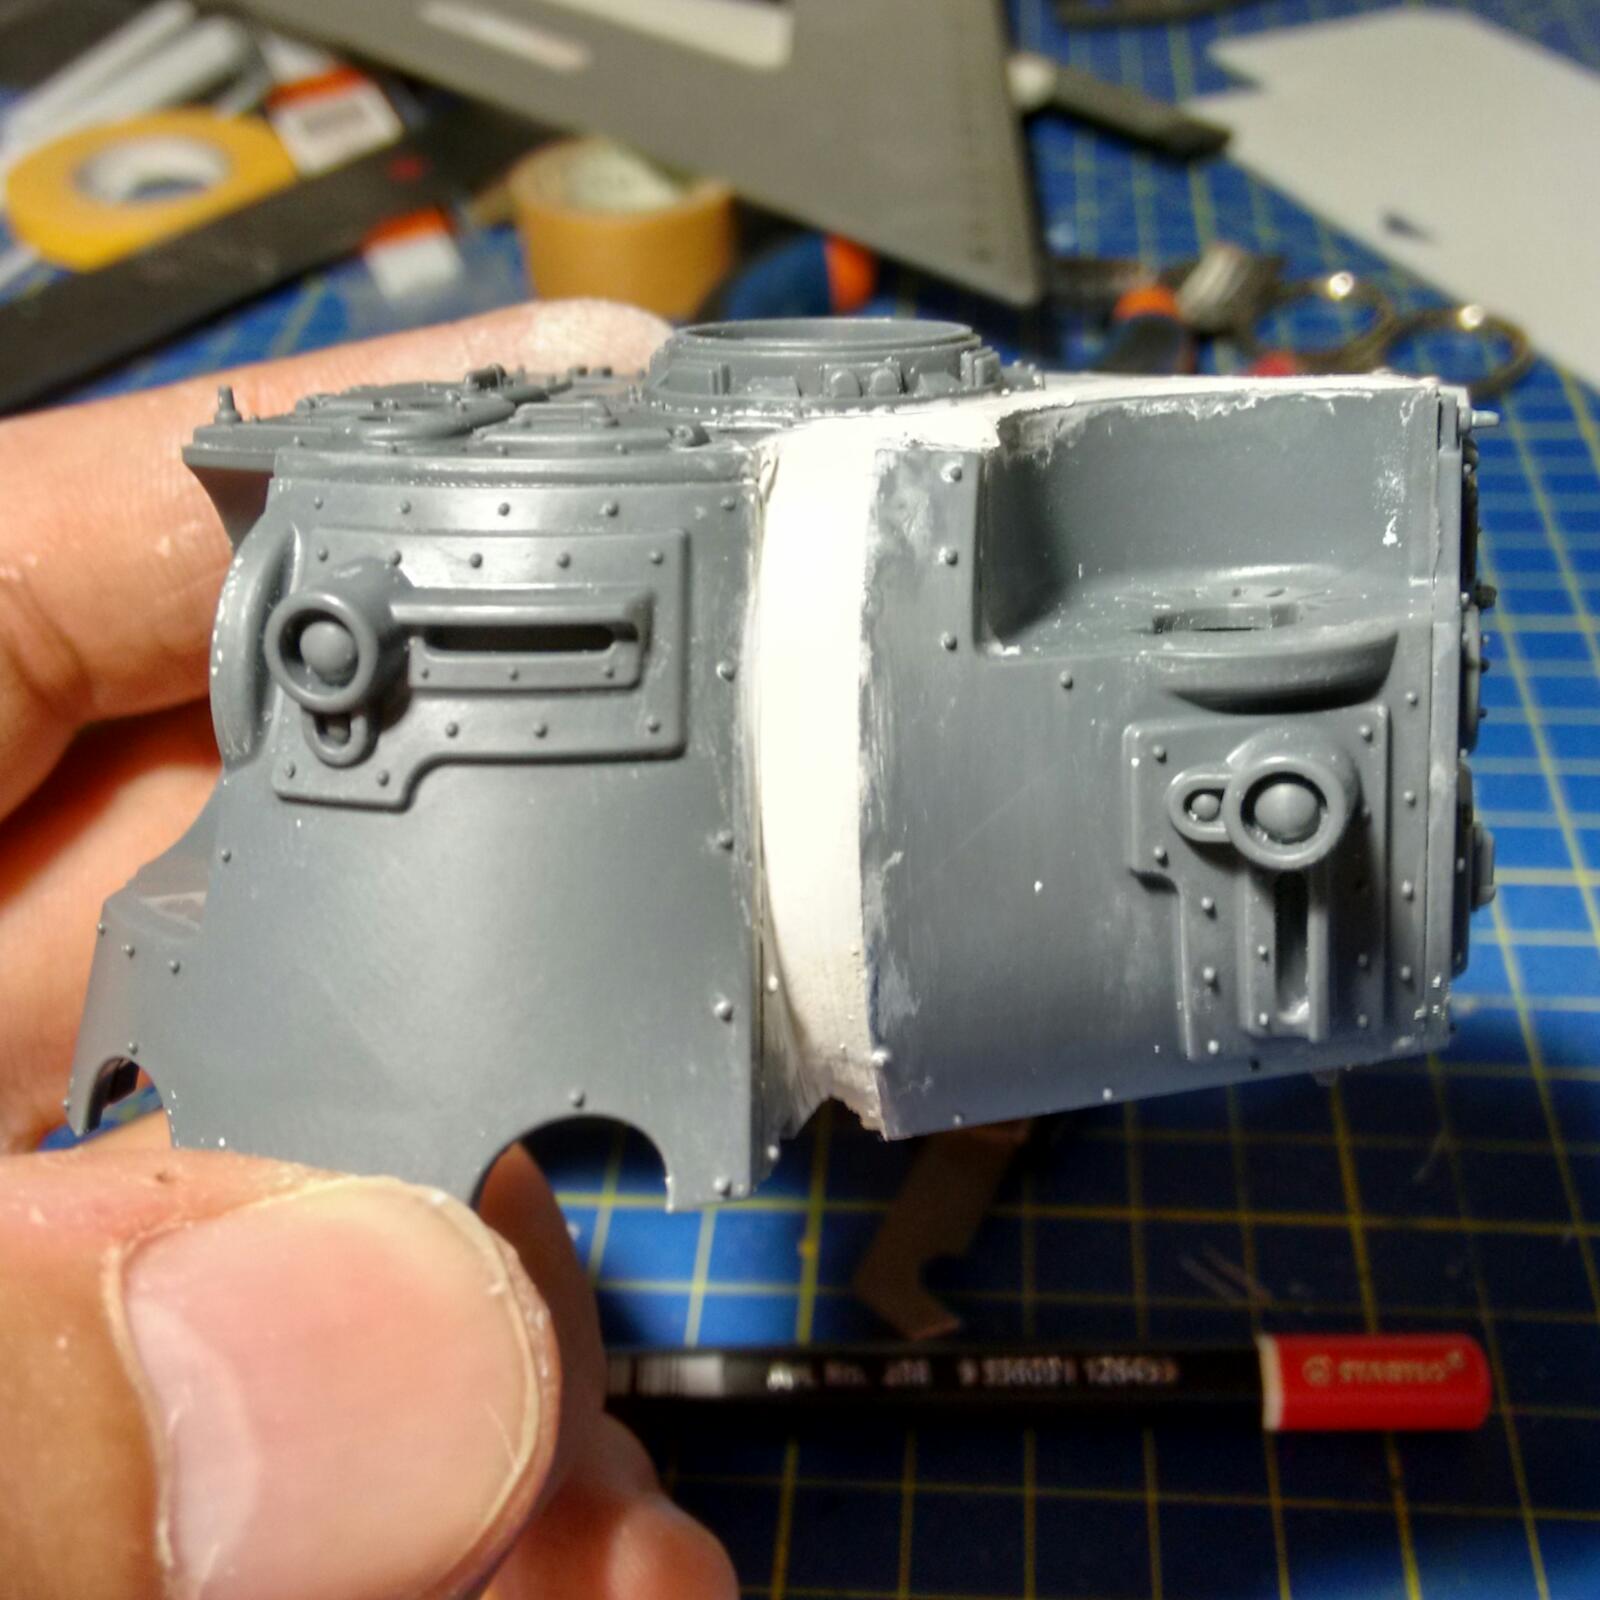 |
| Even at this stage, it's clear that the pieces are correctly aligned |
This part will be particulary time consuming, but the result will pay off.
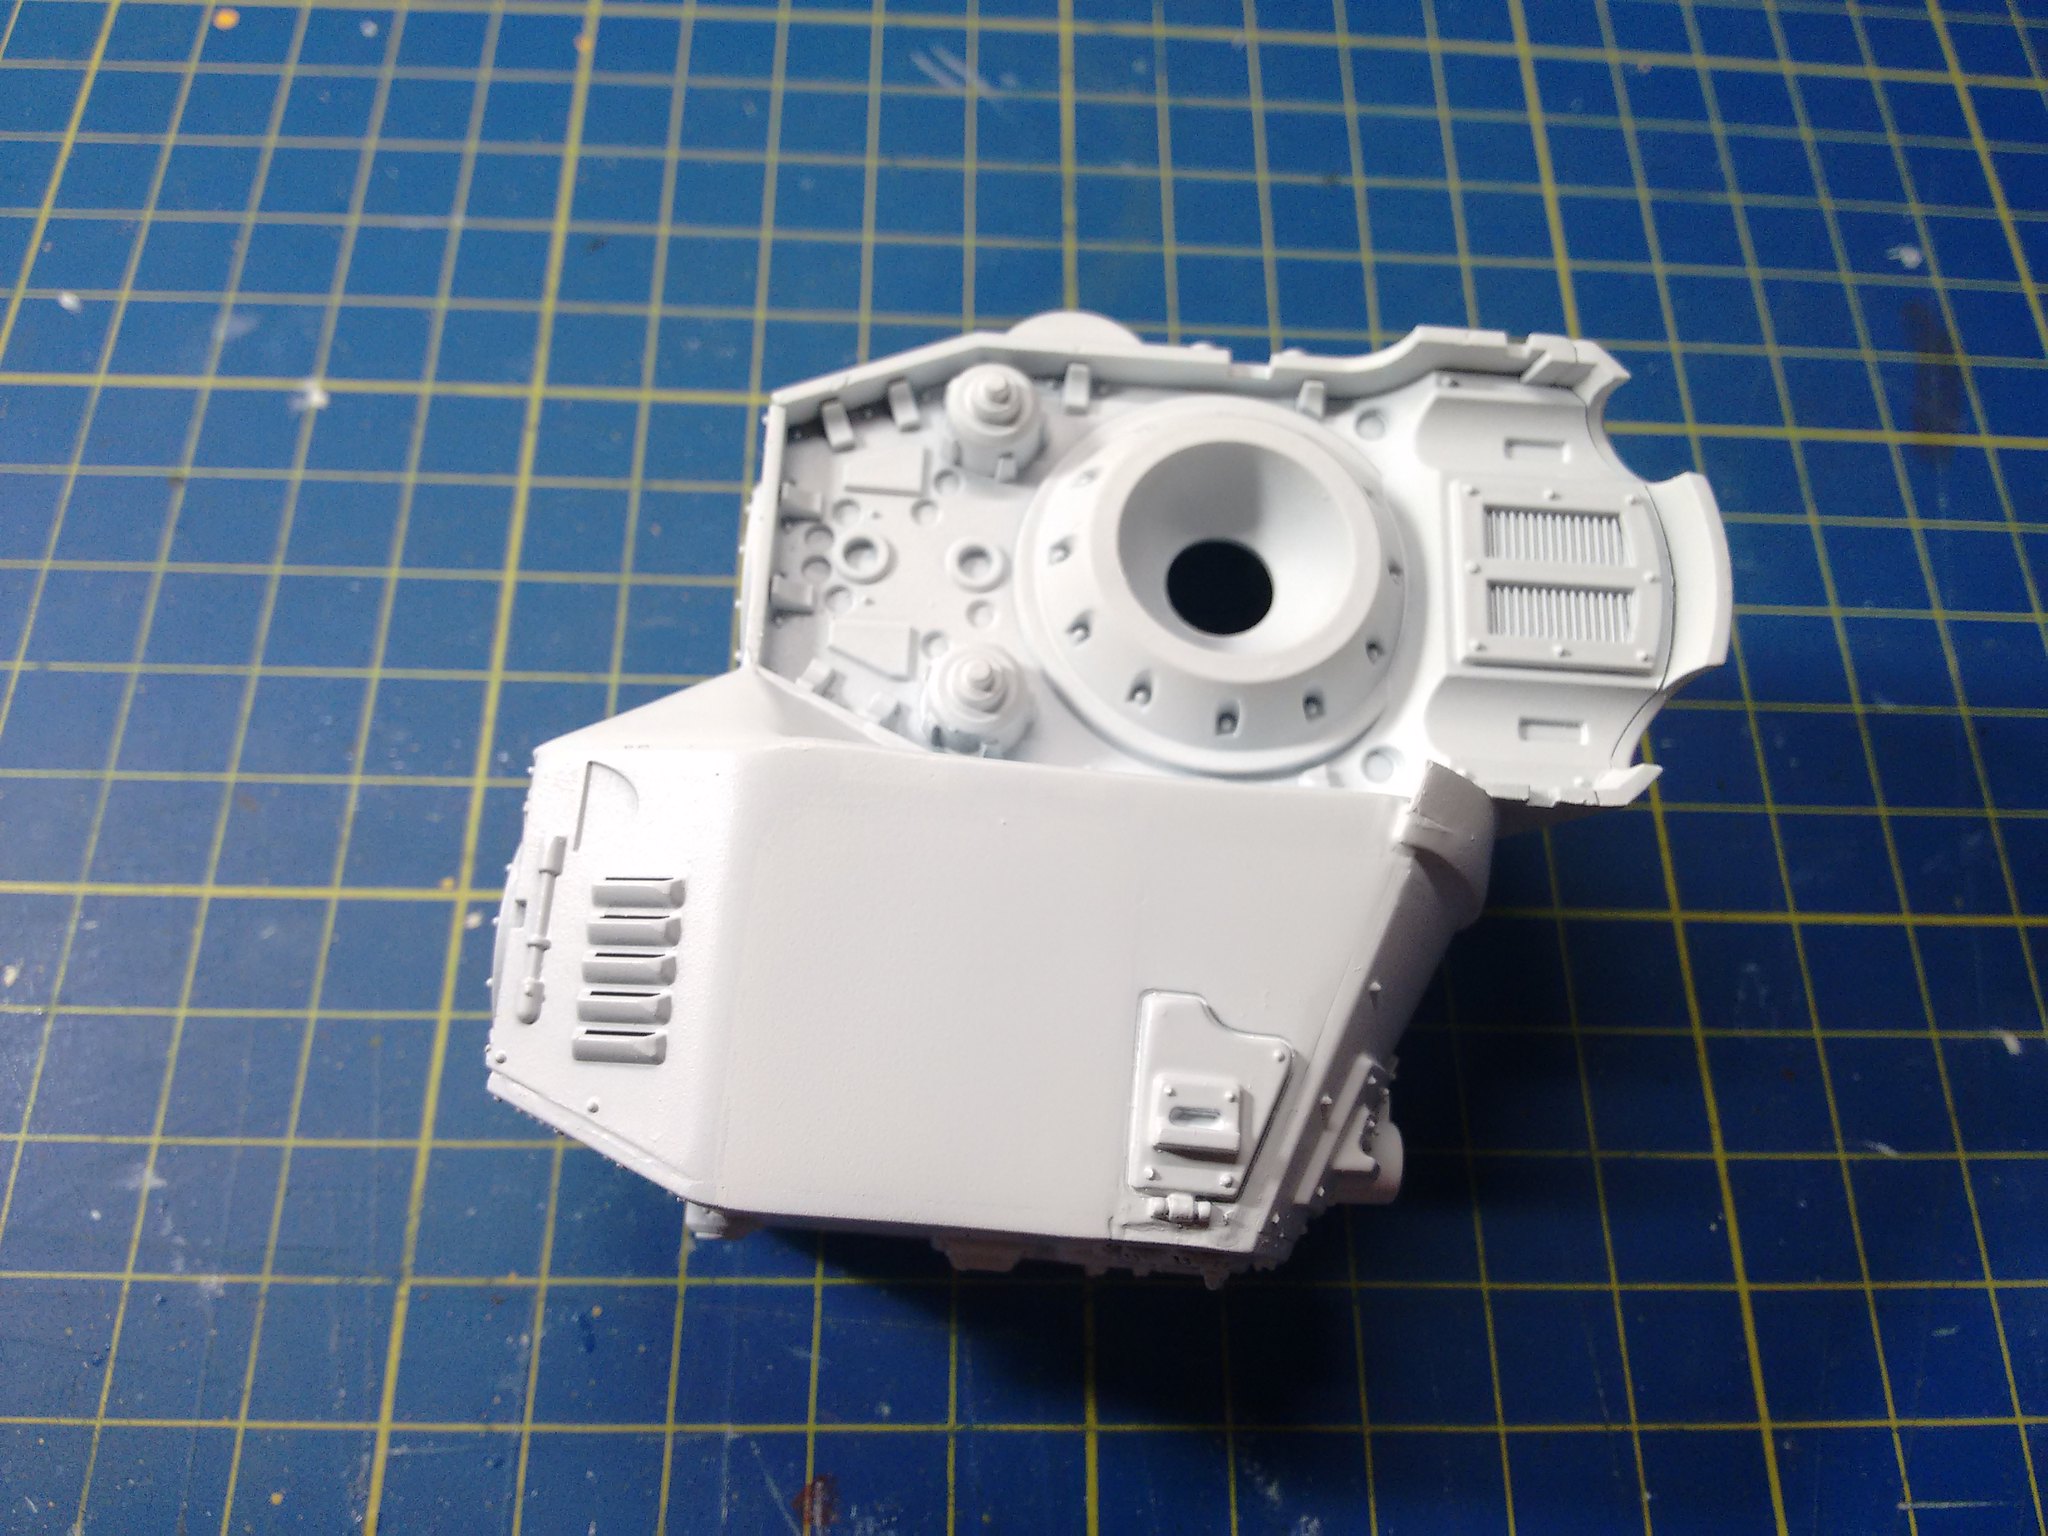
Use some primer in between the various sanding stages to verify the overall aspect of the junctions.
Rinse and repeat till you're satisfied with the result.
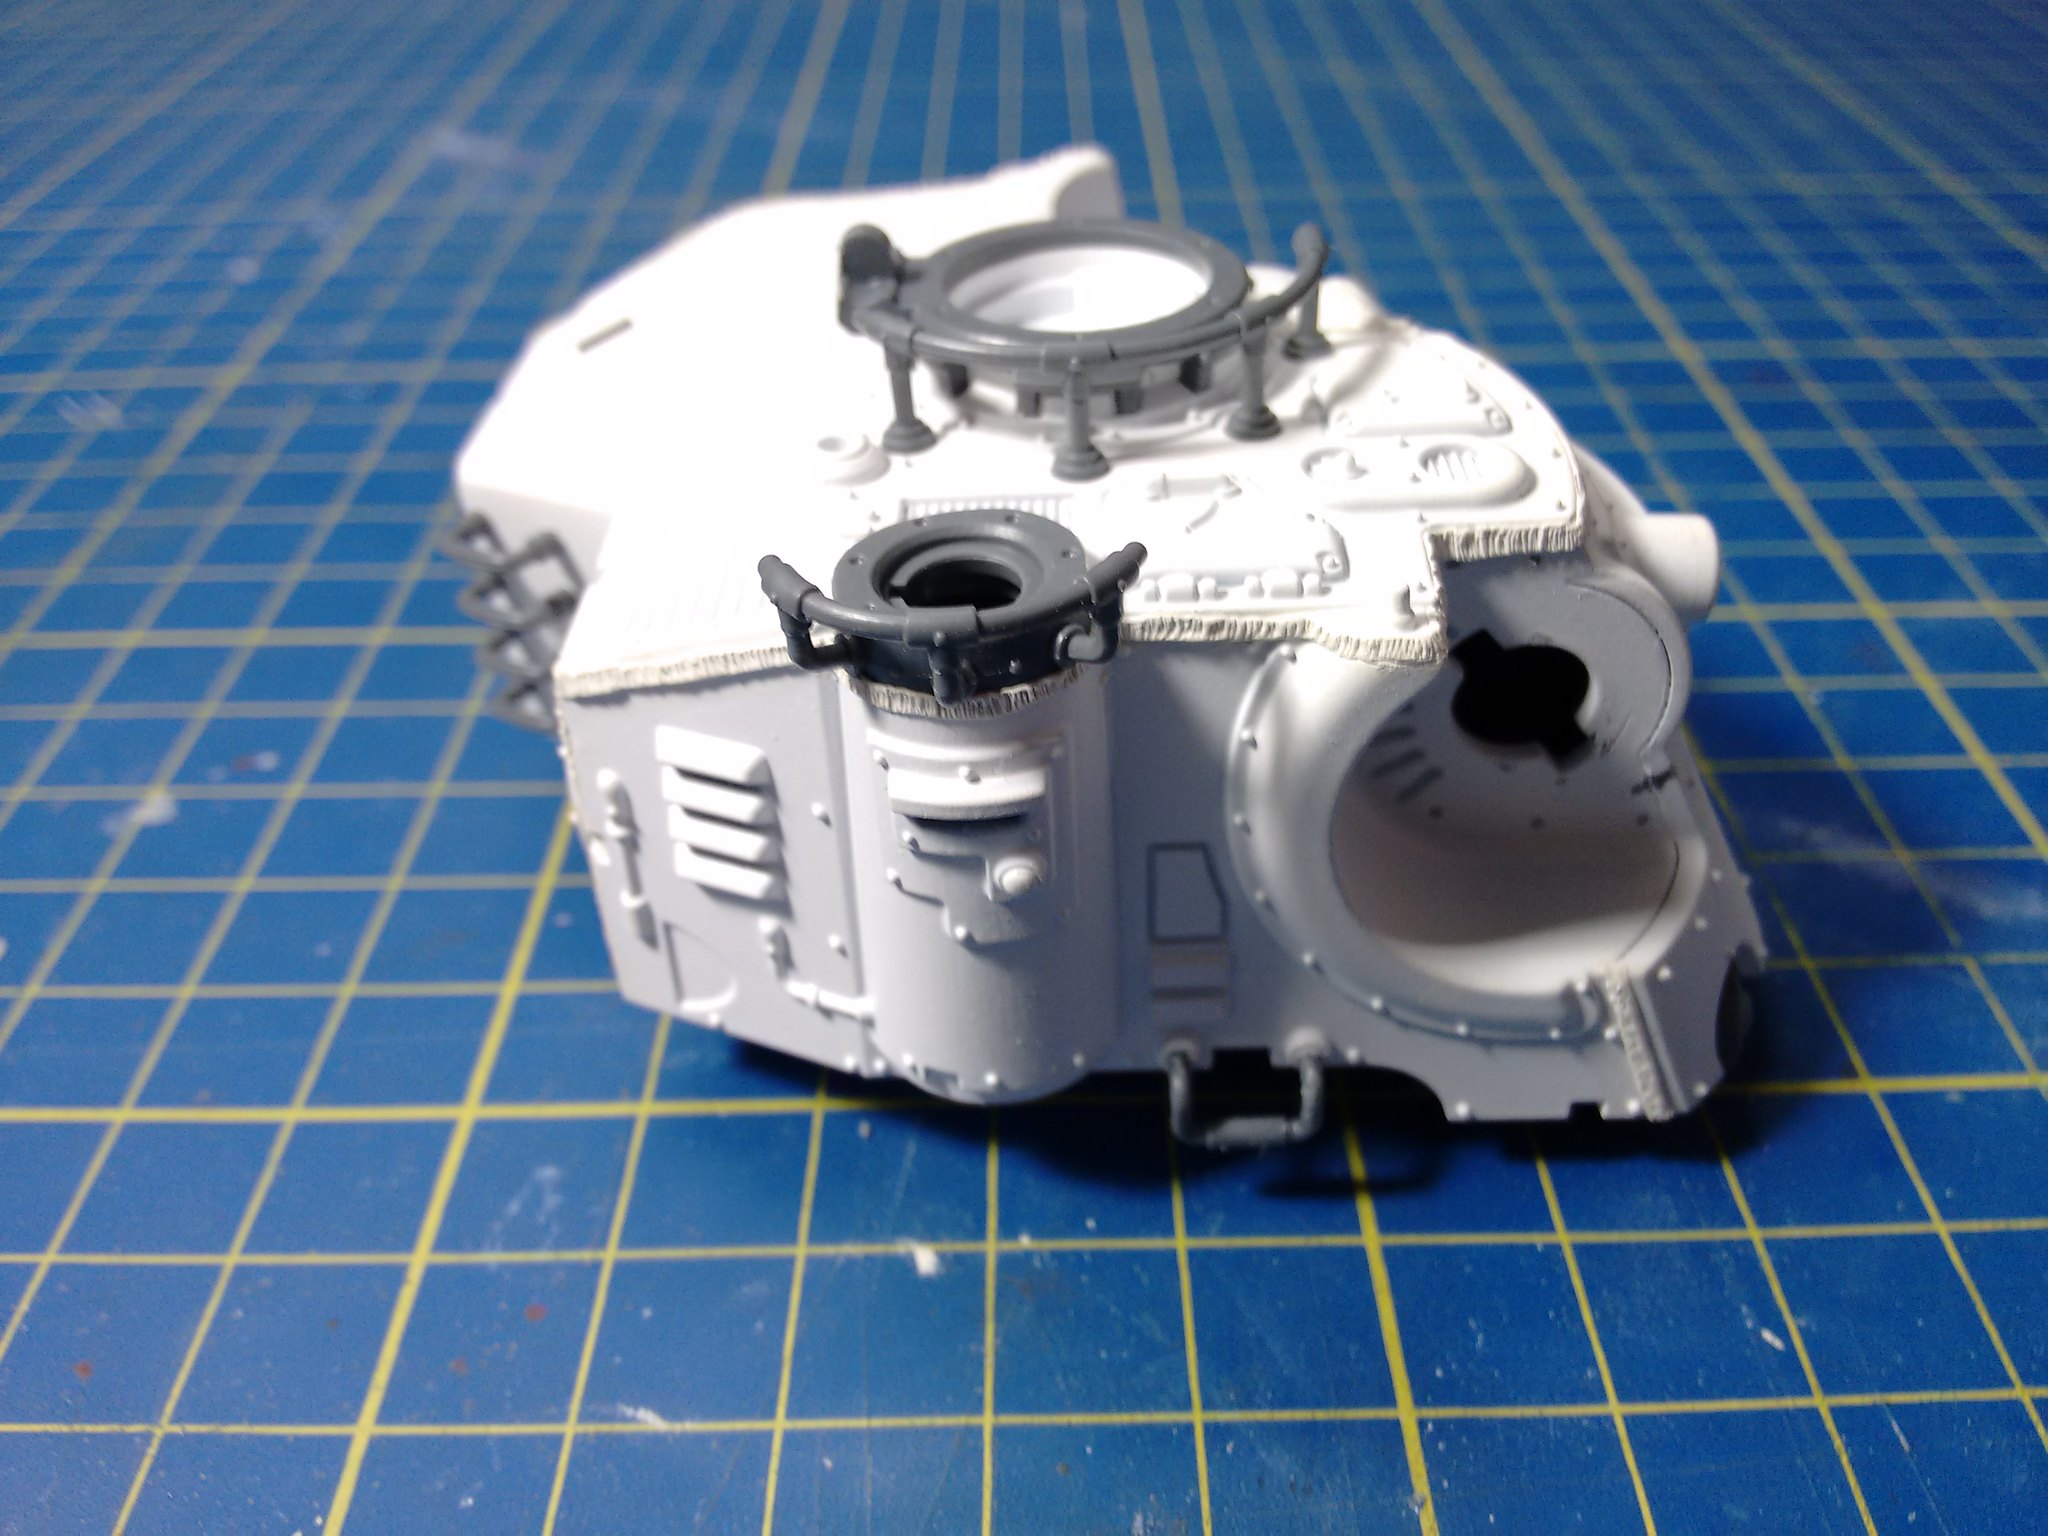
 |
| We lost some of the minor details, but we'll fix it later |
Luckily, we have a surface bigger than the original to work with.
Remember the piece left for "greater good"?
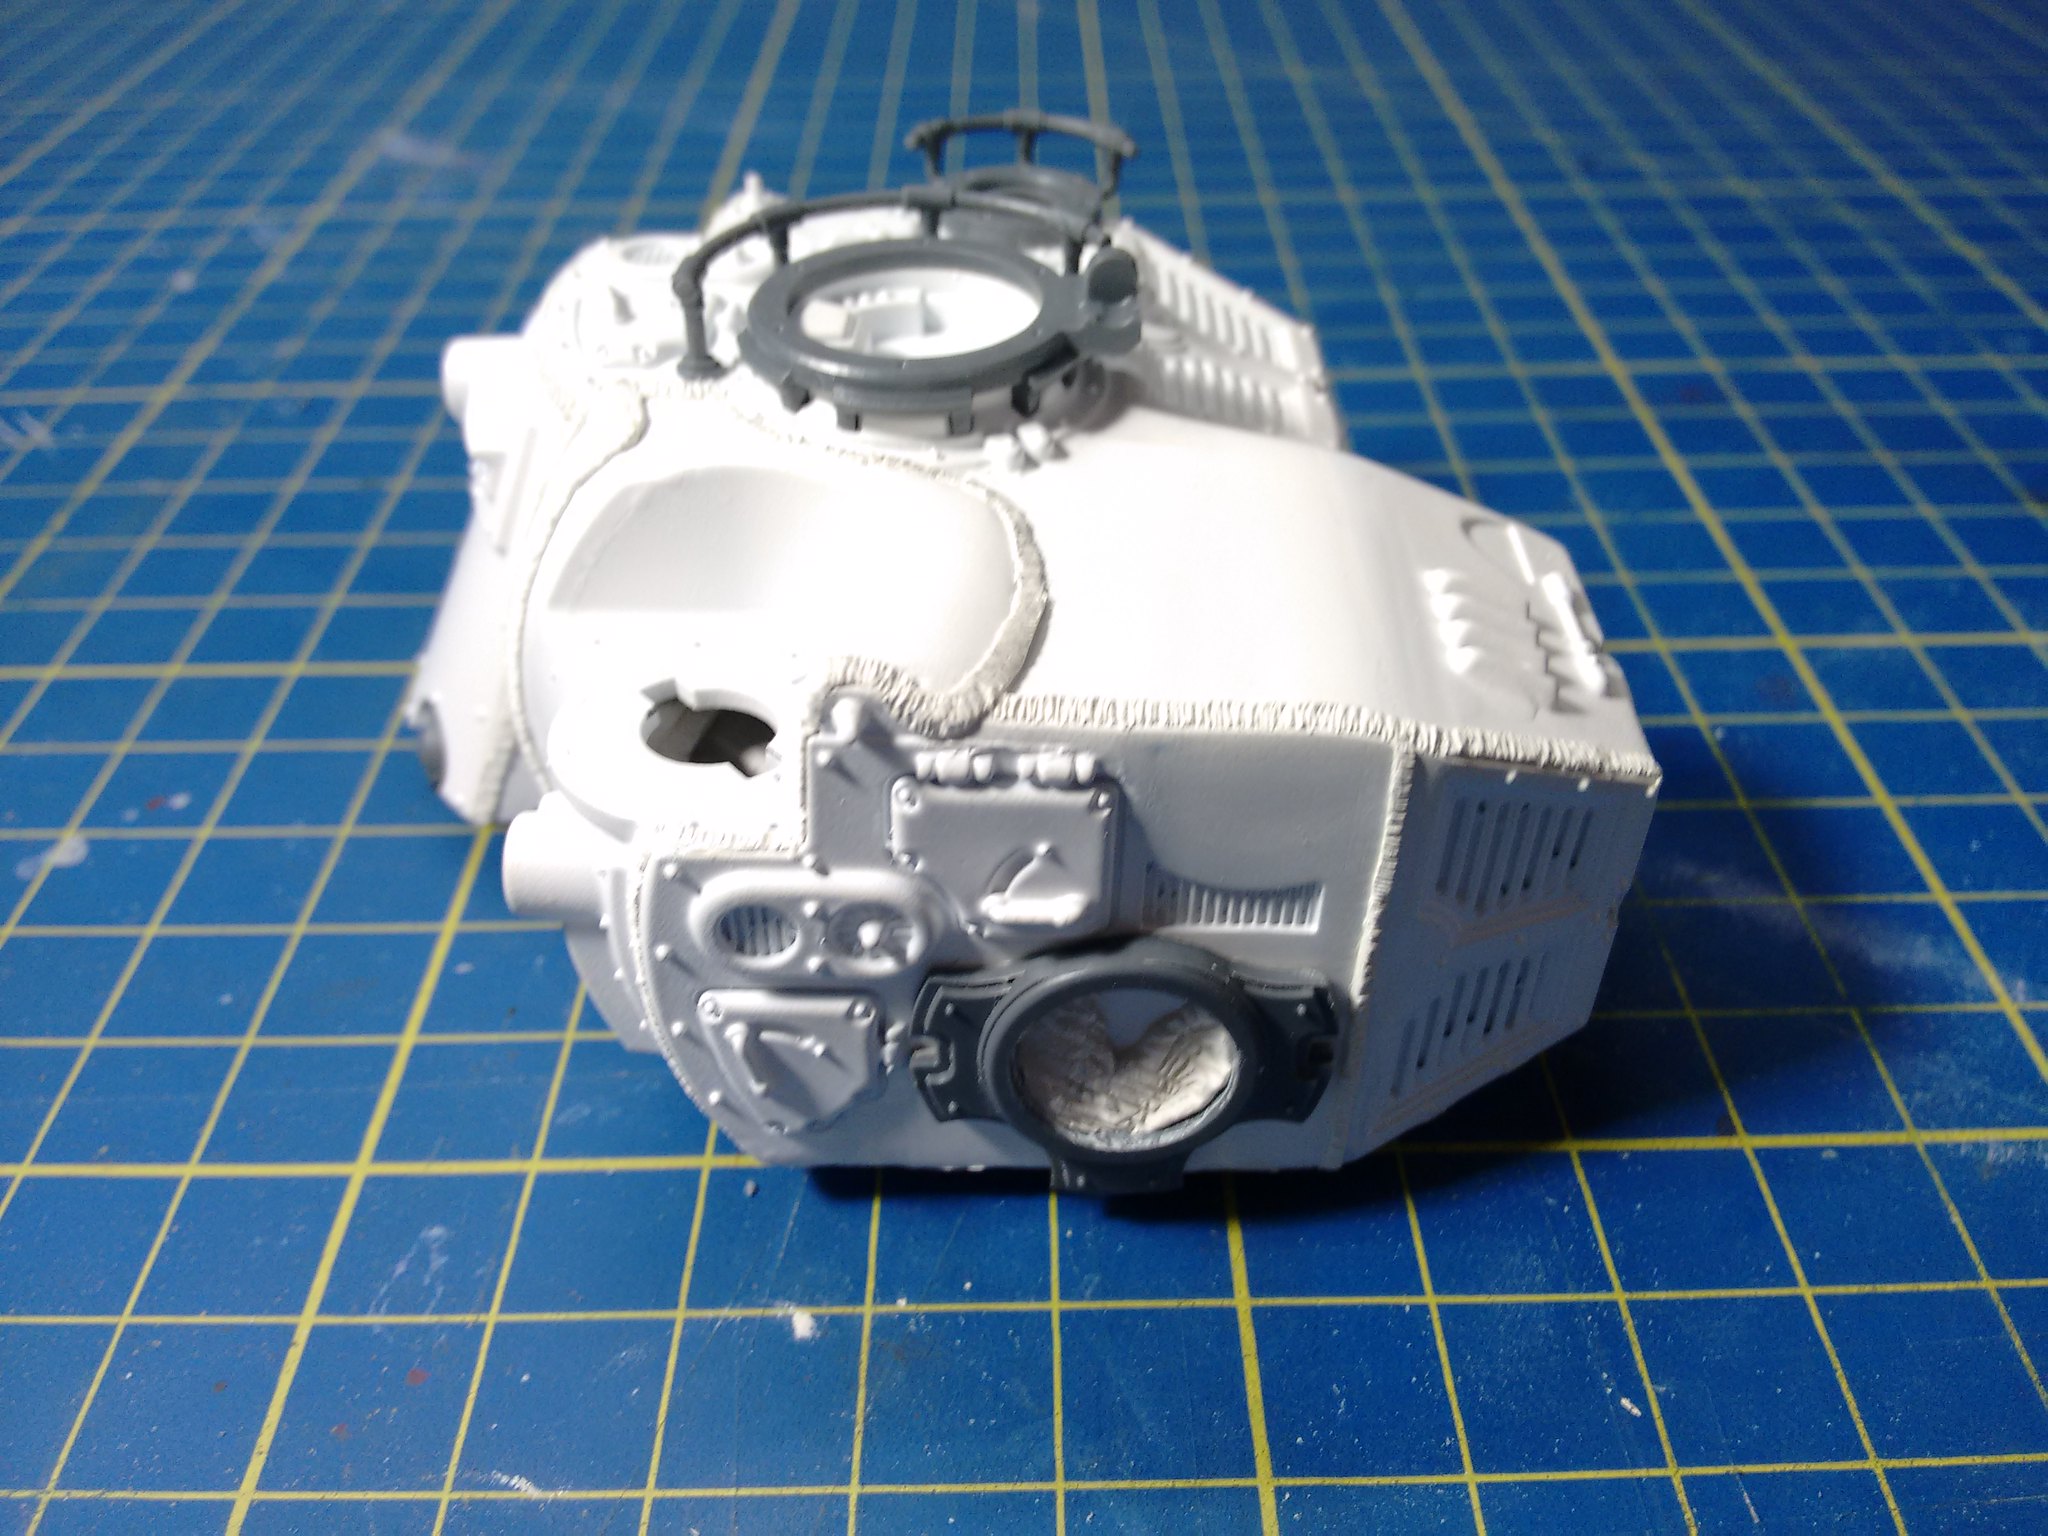
 |
| Some details are still needed, but we're on the right path |
There are various ways to replicate this effect on model kits, personally I find the "putty snake" one of the most flexible.
The trick is quite simple. Using a small ball of epoxy putty and roll it in the shape of a long and thin cylinder.
Place your "putty snake" along the border you want welded, using a soft brush and just a small amount of alchohol.
At this point you can engrave the welding pattern using the tip of a scalpel or a small spatula, depending on the result you want to achieve.
 |
| And the beast began to take shape |
For instance, russian T-34 and german Tiger had dozens of these welds clearly visible all along the hull, and on the internet you can literally drown in the photos available on these subjects and tanks in general.
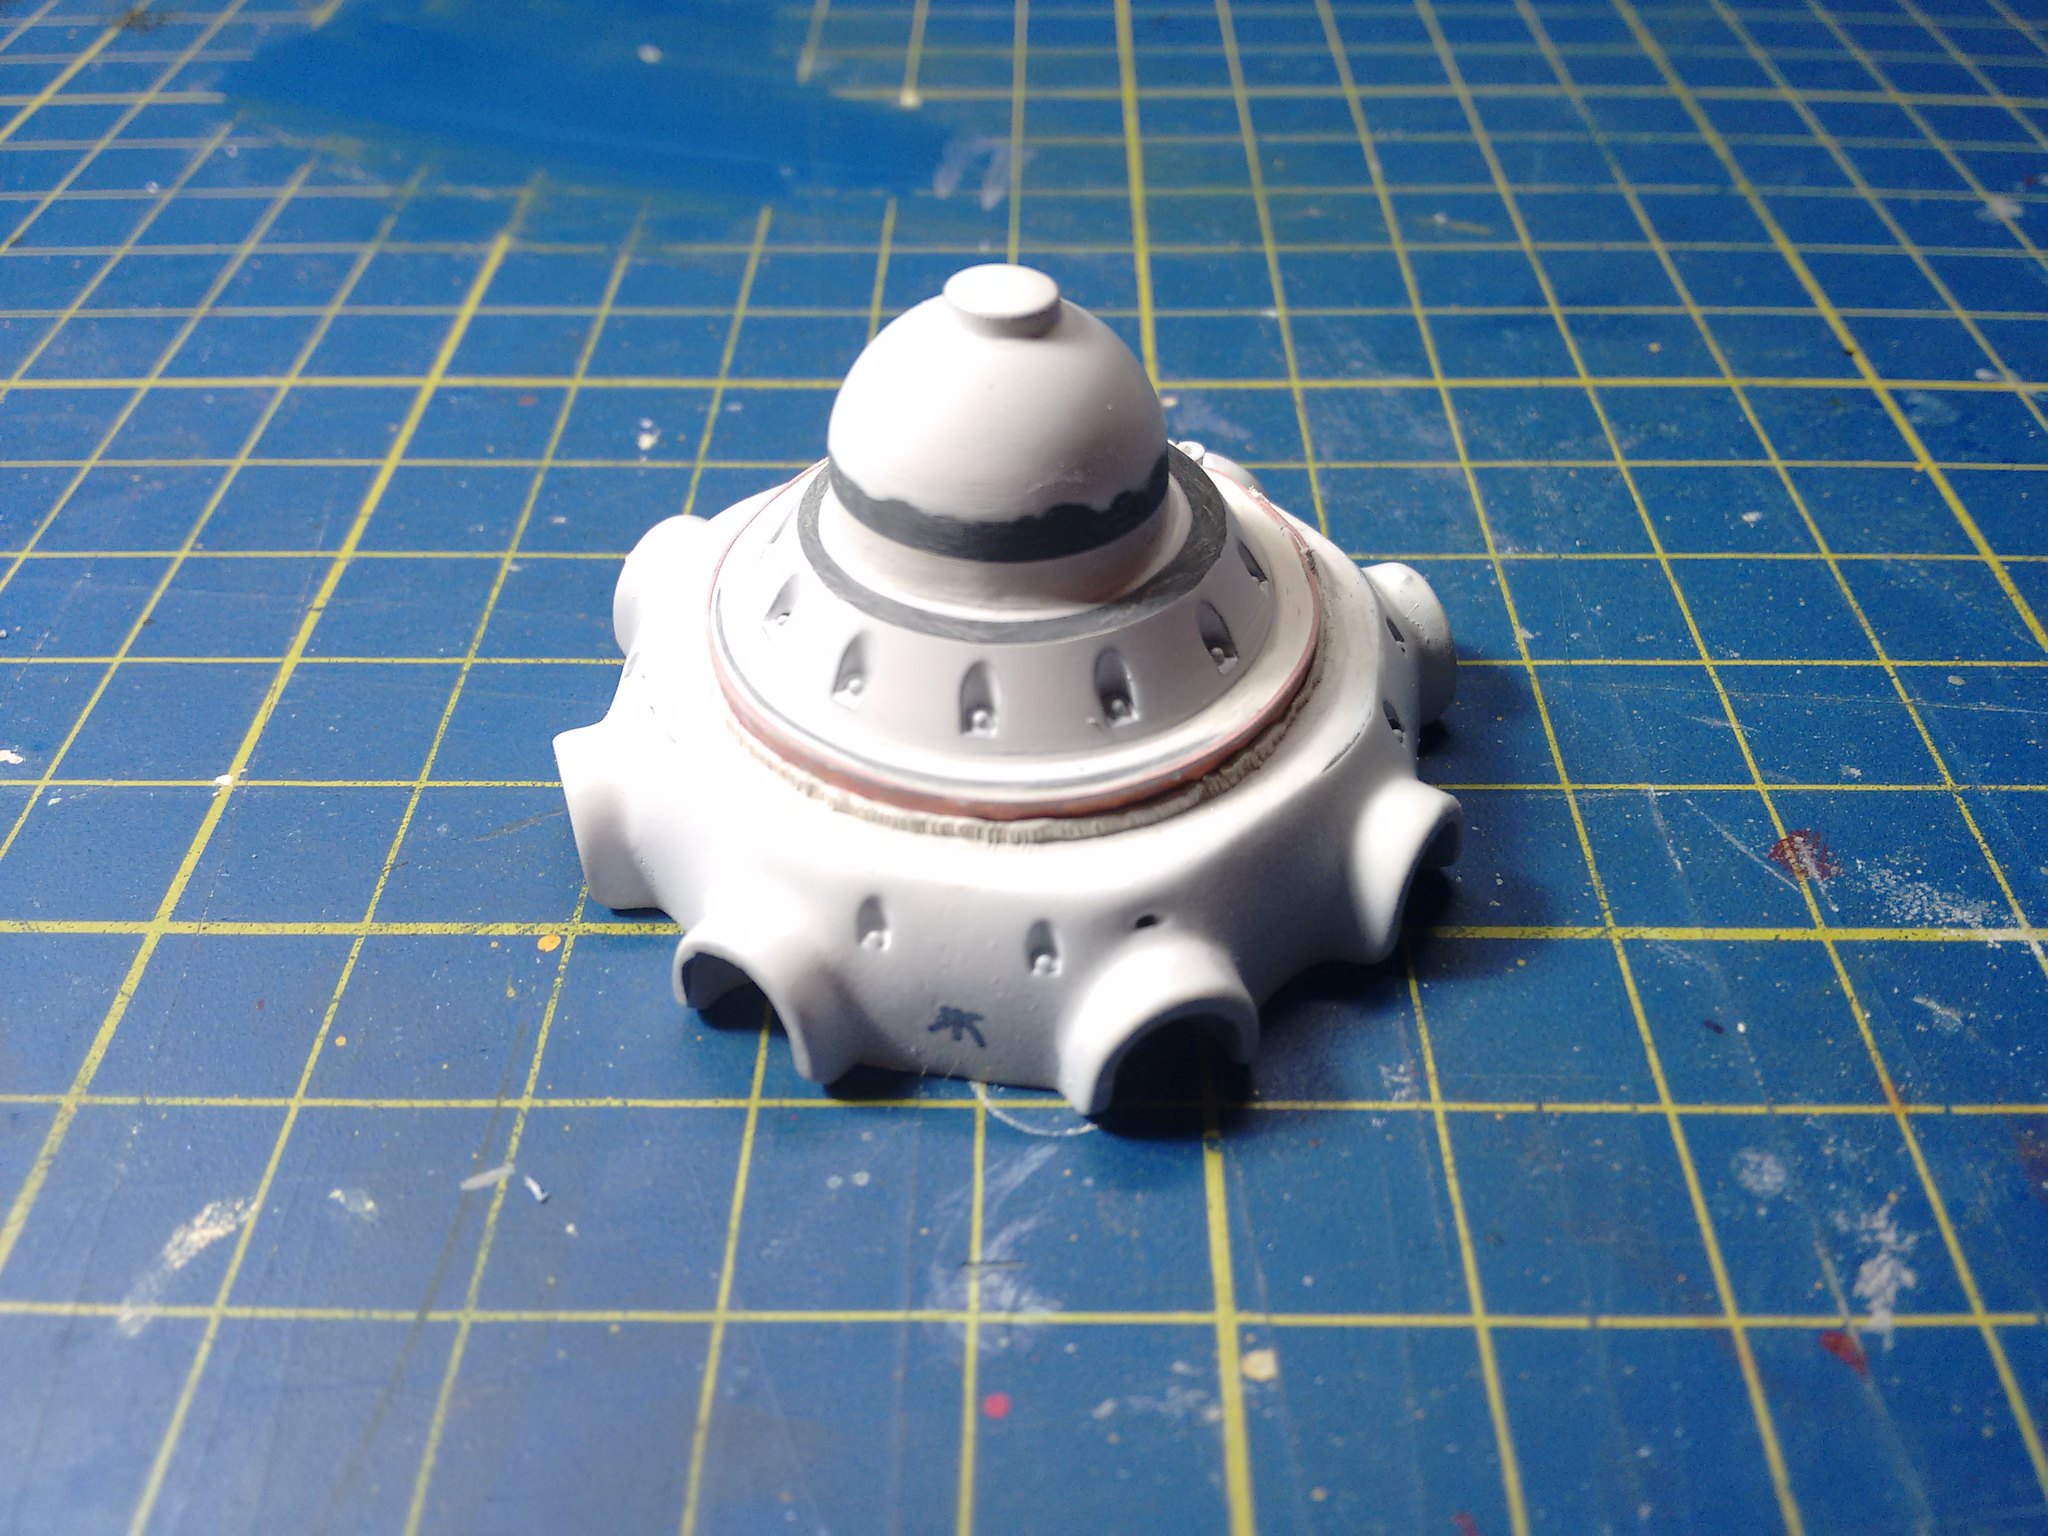
 |
| The upper ring on the commander hatch had to be trimmed a bit |
The junctions are normally on the edges of the structure, so you will need some planning to freely manipulate the model.
 |
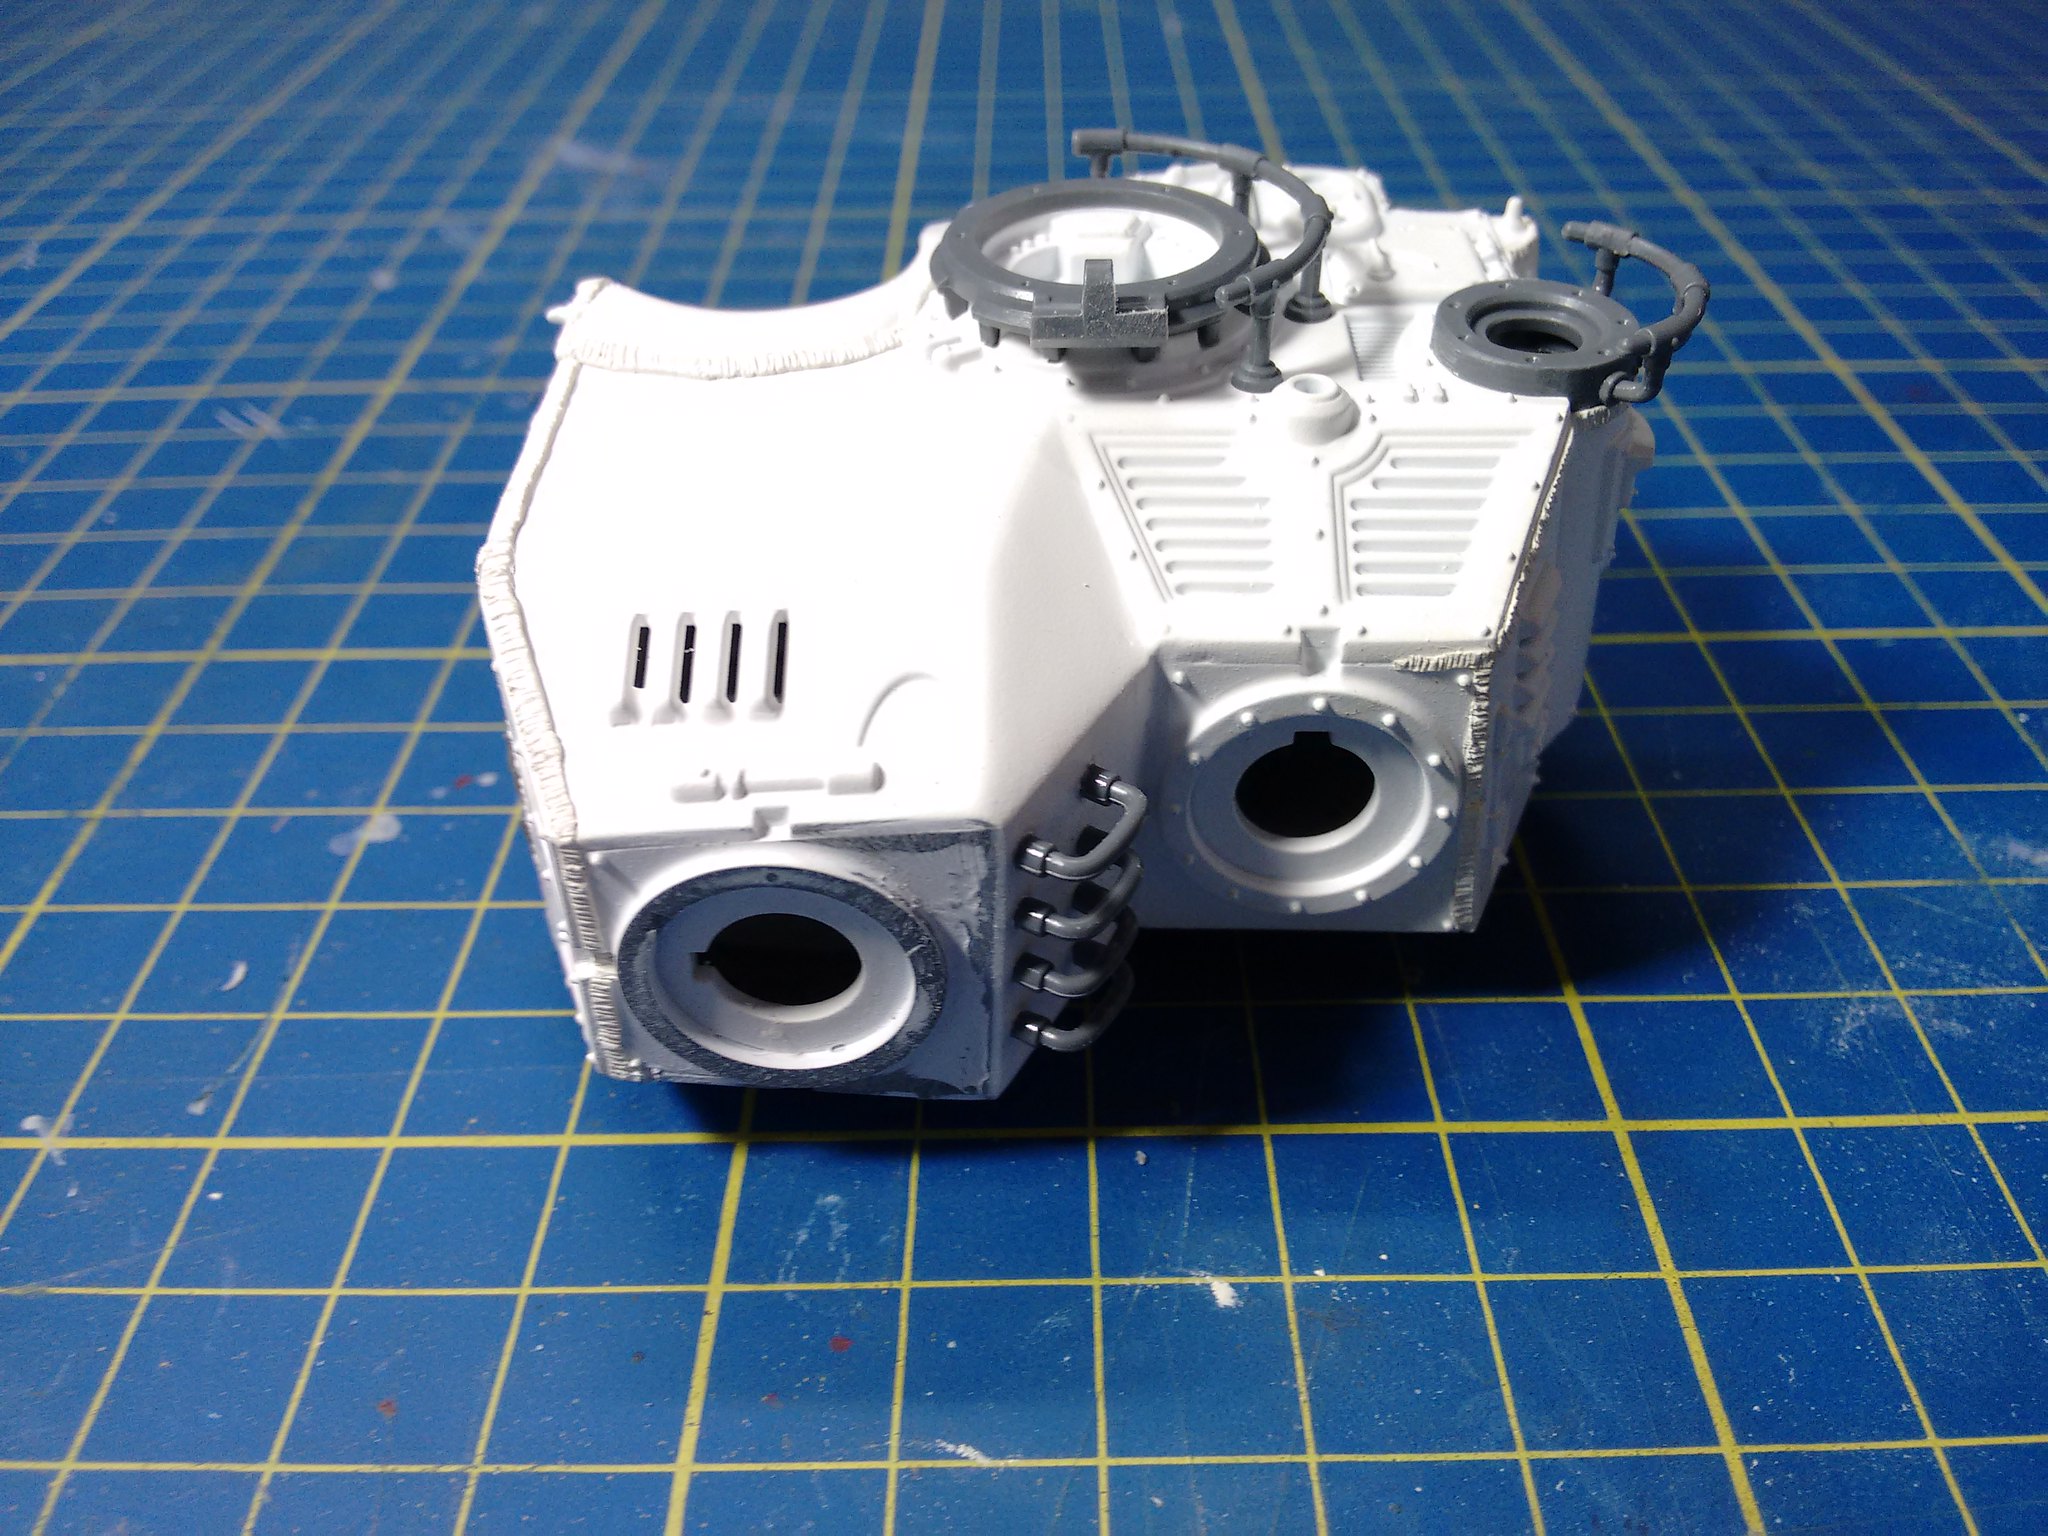
| The different materials are still visible through the primer |
The third part will cover the weaponry and the further detailing.
Don't miss the other articles of this series. Here you can find Part 1 and Part 3 here.
No comments:
Post a Comment