
- Oh, Mother Night! Fold your dark arms about me. Protect me in your black embrace. I sit alone, an impotent exile, whilst this form, this presence, returns to torment me!
The Lord of Darkness
Well, i thought to buy a gaming mat and some scenery but, since i wanted my table looks very different than the others (and perhaps a little bit less expensive, wasn't a bad idea at all) i decided to build and paint some of those scenery on my own.
First of the series is a Chaos "shrine", as i love calling it, made with some pieces of cork, few textures and the slaughterpriest mother GW thought well to gave me with the September Dwarf!


Then i started create the "Dais". Since priest's and dais' bases are circle i need to built up something circle, or oval at least, to match them, imagining stairs (two of three steps, not more) leading to the statue.
 |
| a very old base found in the deepest abyss of my home; i cannot say what might be the original model |
 |
| Cork... cork everywhere! Soucers from the stairs, kitchen mat for rock's main body |
 |
| Assuming the stairs is broken because of war and ages i fit all togheter with PVA, and superglue. |
Second step is to make it real... using PVA glue, alongside superglue, on rocks (at least 3 sizes) and sand i had to fill all the gaps between corks.

 |
| Apply PVA and then let the rocks "rain down" from your hands starting from the biggest to the smaller, eventually with sand |

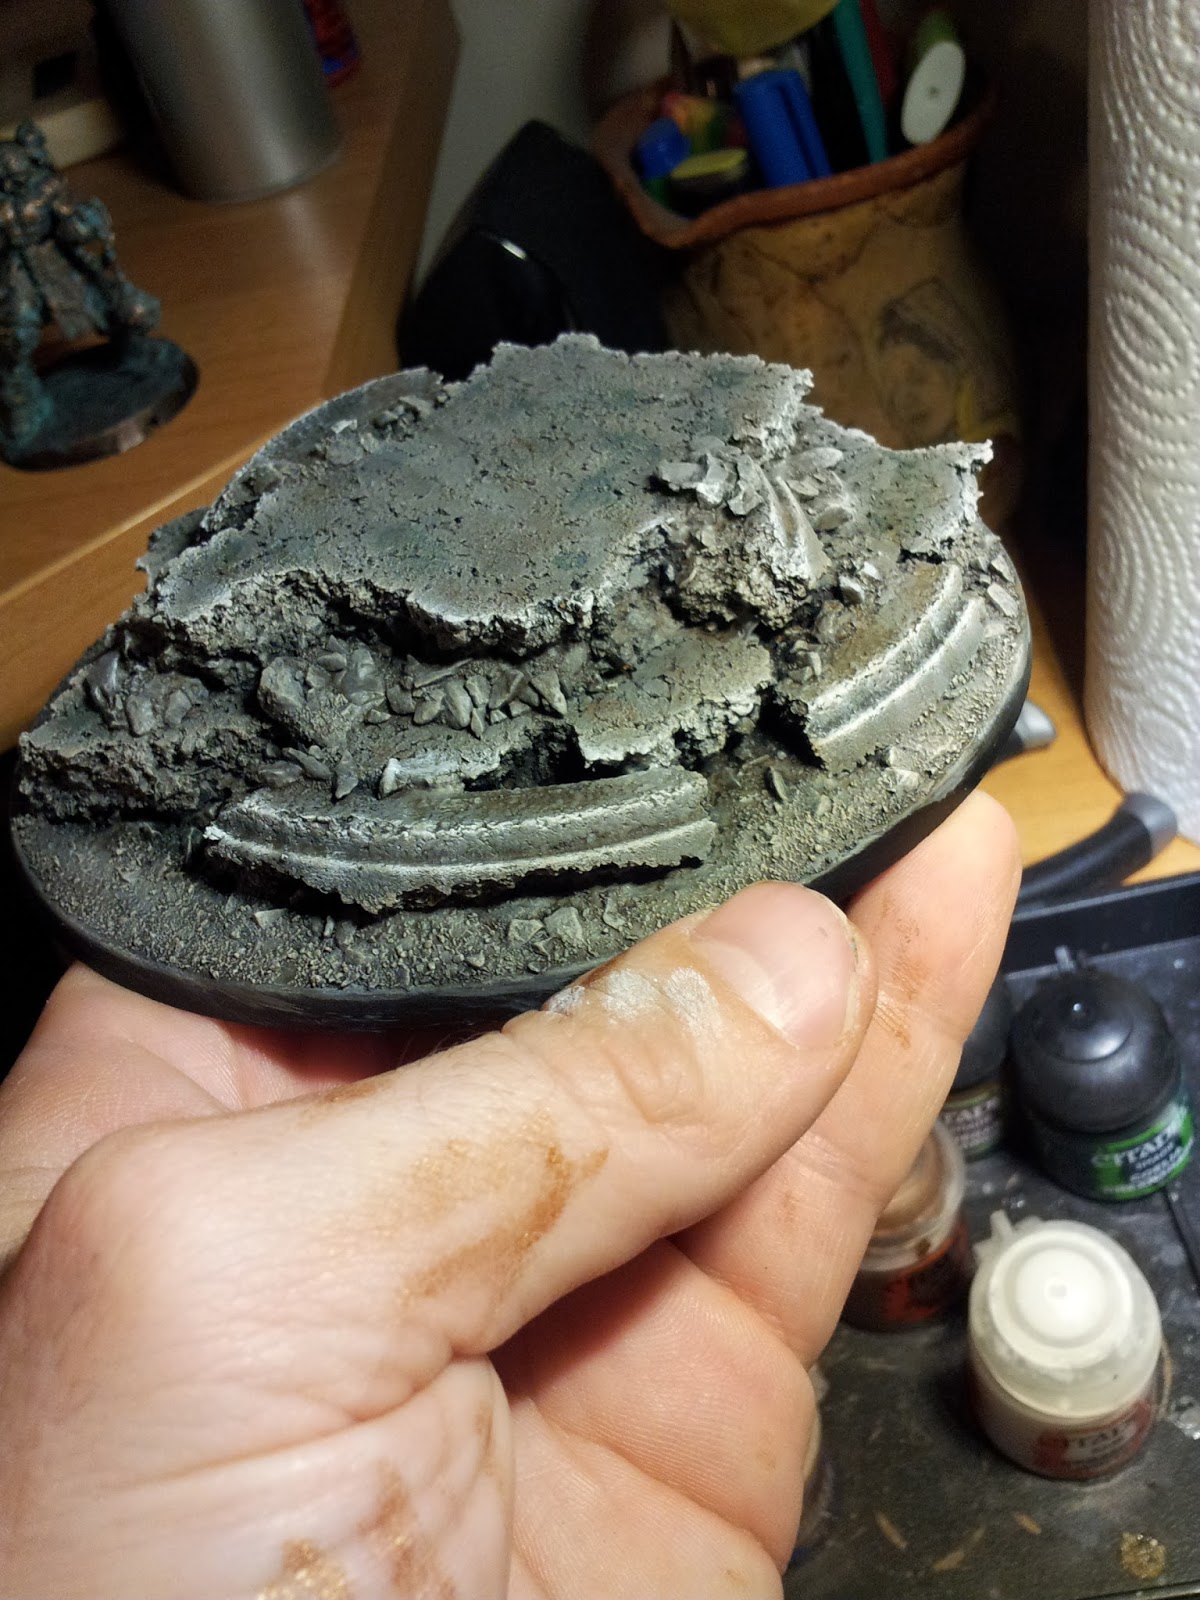
Time to paint! With your big brother brush paint all the surface and alll the recesses with light grey. I used Dawnstone from Citadel.

After basecoat is finished i started shading in few steps:
1- Add drops of washes (green, brown, red) as you wish
2- Adjust the amount before they dry (pictures 2)
3- Grab a dark earth or brown shade and cover ALL with it


And so on with drybrush:
1- Dawnstone (same grey used for the coat)
2- Rakarth Flesh (light beige apply gently)
3- Pure White, very gently, small amount.


Finished base's main body it's time for the statue. After a fast silver primer i started create bronze with an amount of layers, each of them applied by the dry technique.
1- Warplock Bronze (dark bronze)
2- Wash of Agrax (dark brown)
3- Runelord Brass (shiny brass)
4- Balthasar Gold (dark gold); not so much, start make "polish" effect
5- Gehenna Gold (shony gold), finish the polish.


 |
| this is the effect after the wash |


Leave the scene to the Oxide! Using technical paint (i used nihilak oxide from Citadel) i covered al the model. Eventually yoi can add some zenithal effect (from above for example).


Before the oxide paint get fully dry is VERY important to wipe most of it from the model...use fingers or cotton swab.

Back to the base... after glued the statue on the top of the Dais i used textures (in this case Astrogranite from GW) to fit all the stuff togheter. Then, most exciting thing, i added some moss textures on the stairs. For how to use moss i refer you to this page.


Last but not least i applied pigments (Forge World Dry Mud) to make it appear very real!

...one step closer to an home made gaming table!